集成显卡笔记本配置Pytorch教程
集成显卡笔记本配置Pytorch教程
一、anaconda安装
1.官网下载
点击到官网下载对应系统的版本anaconda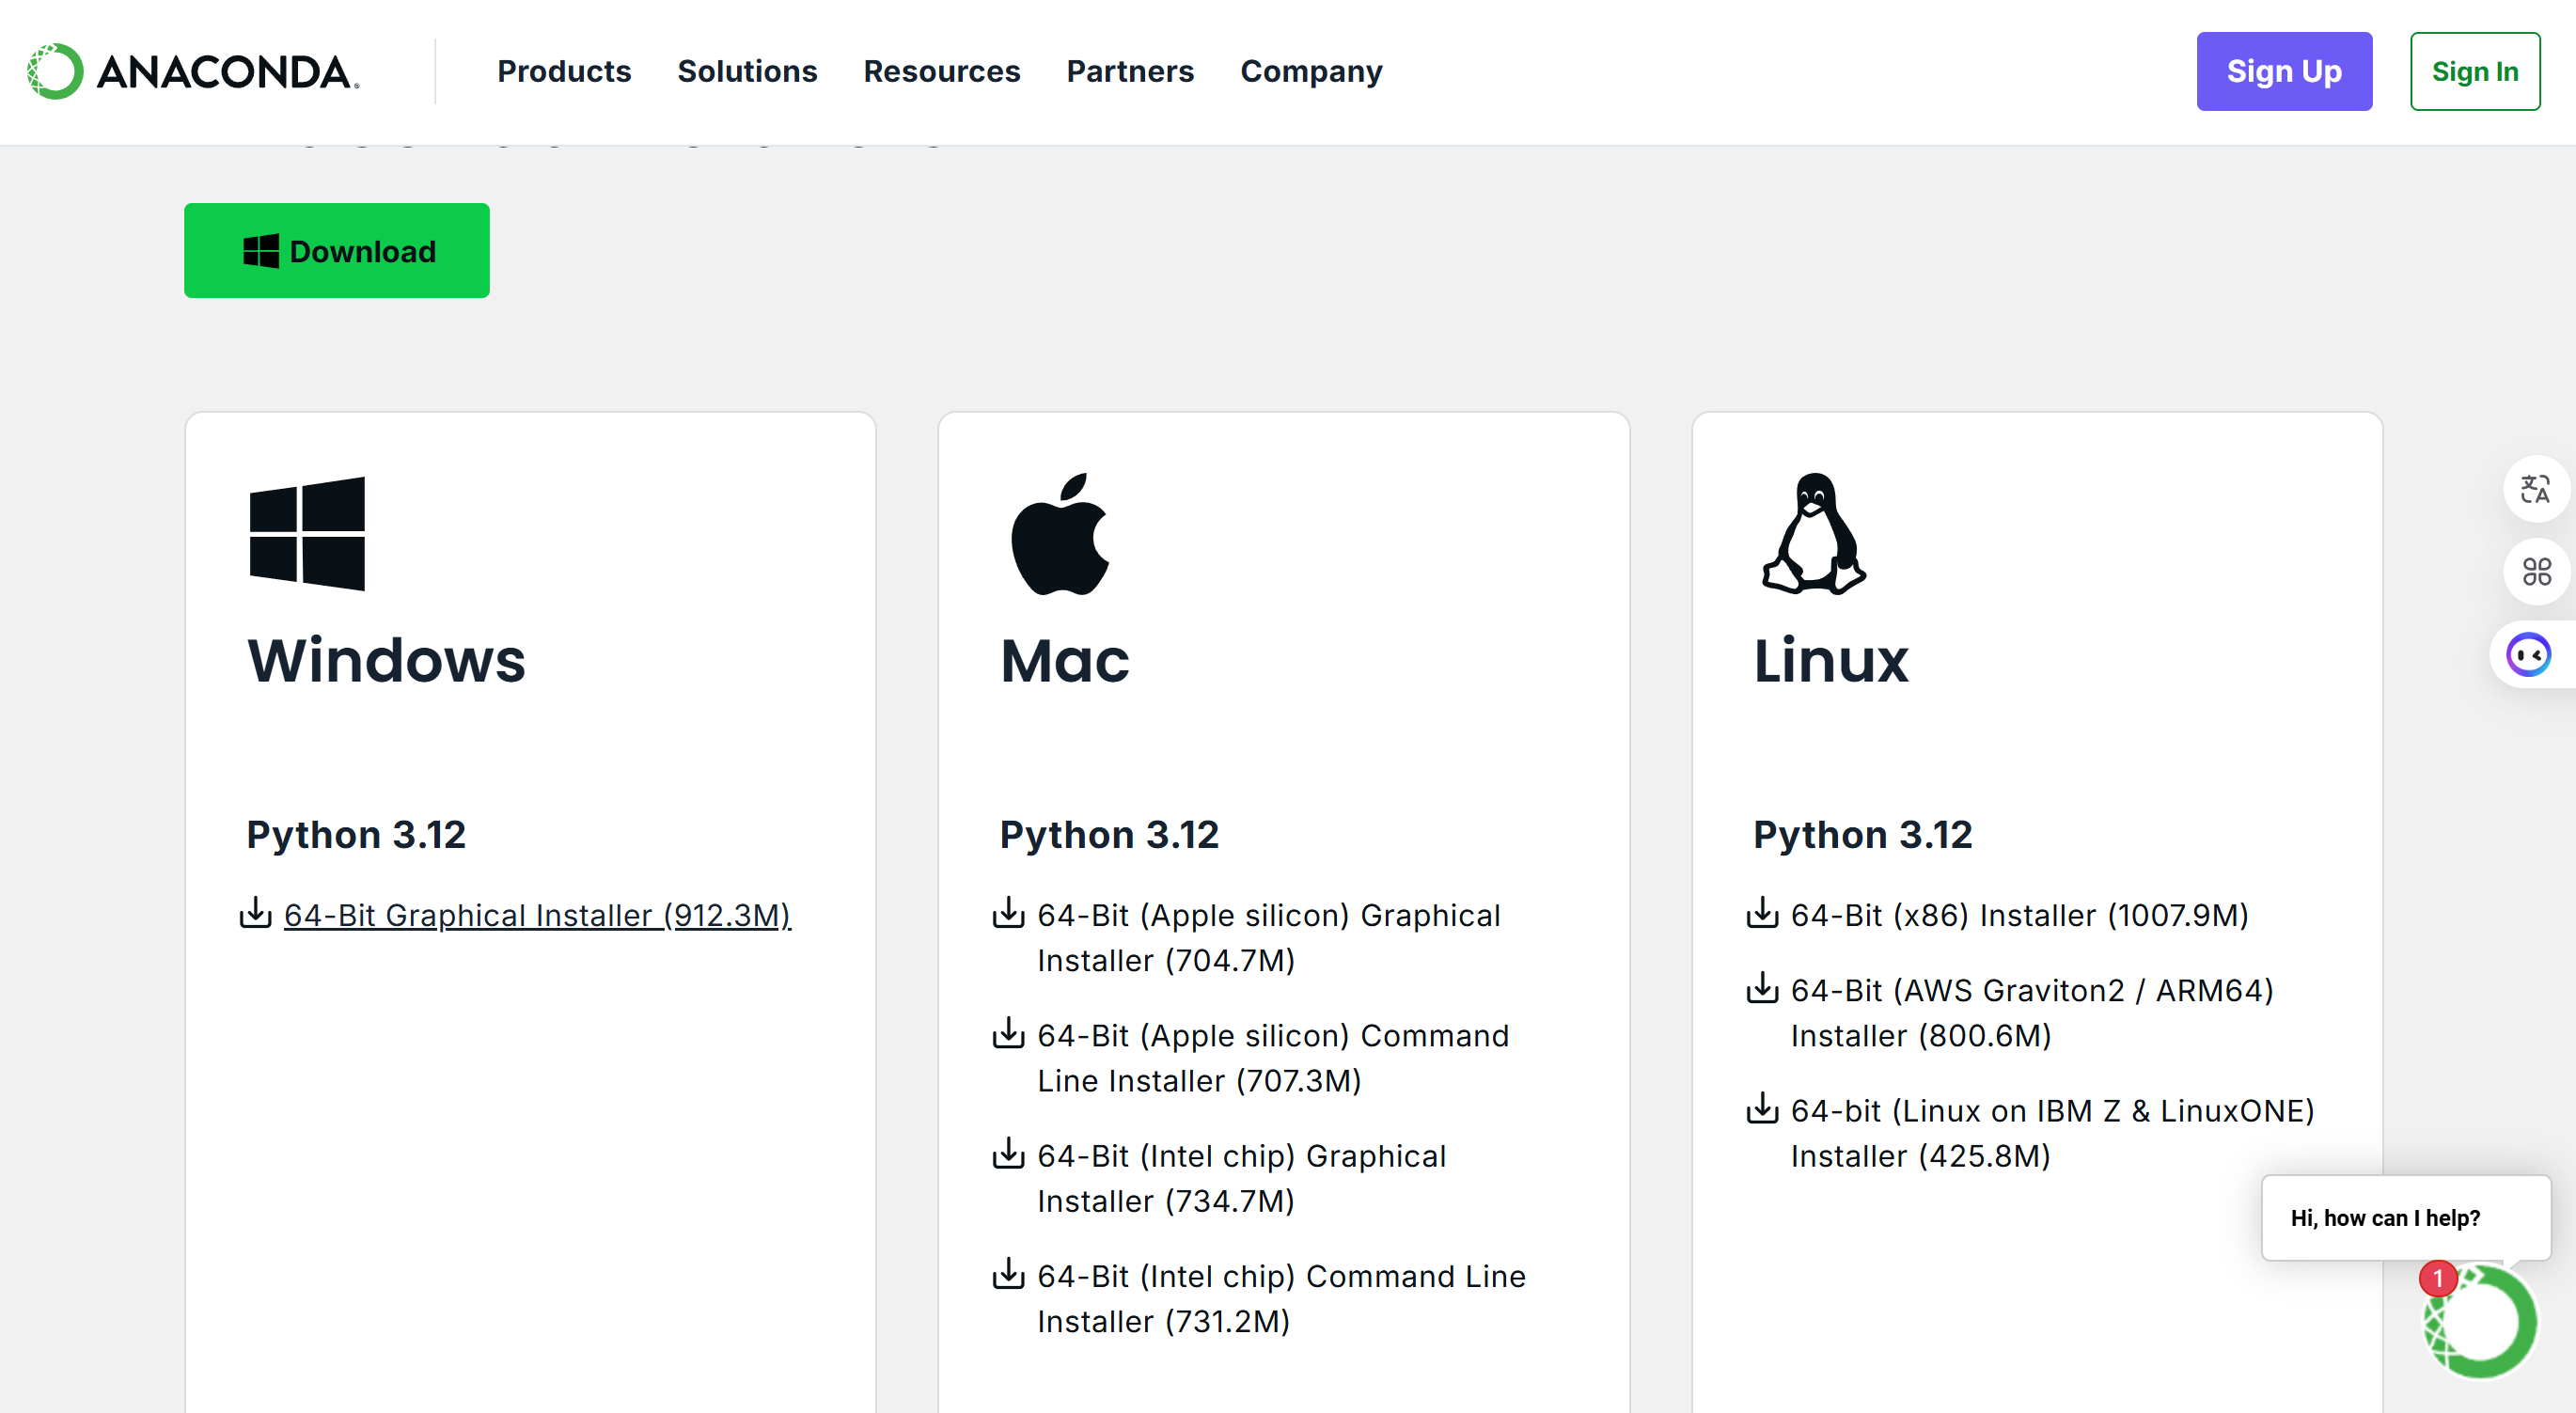
2.安装
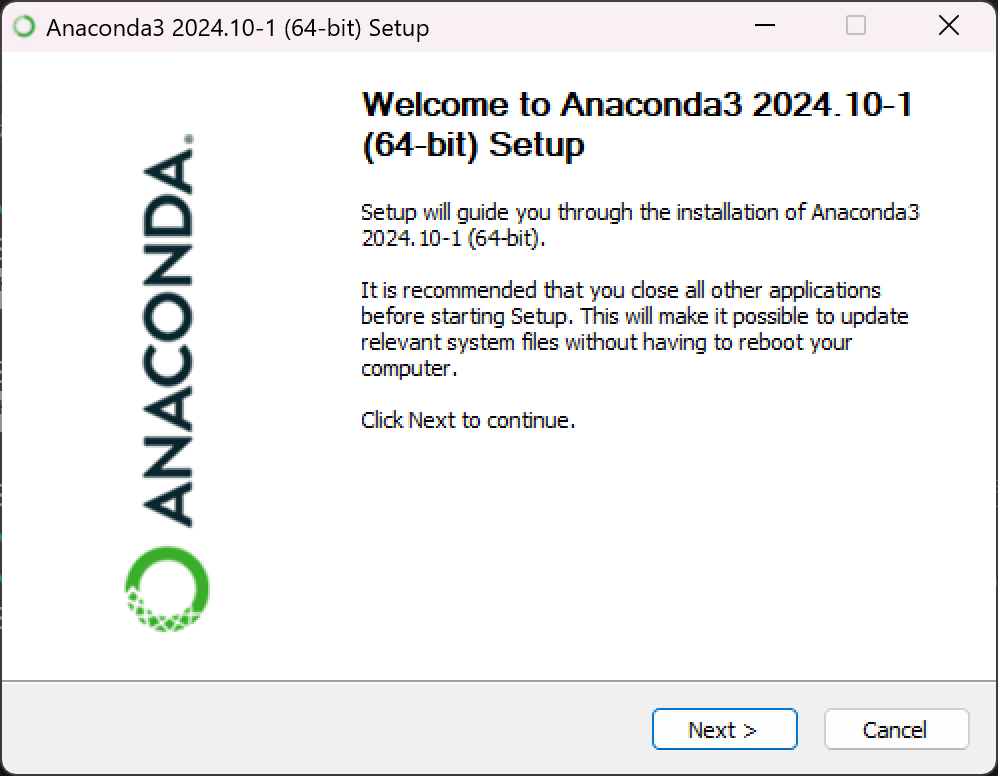
- next
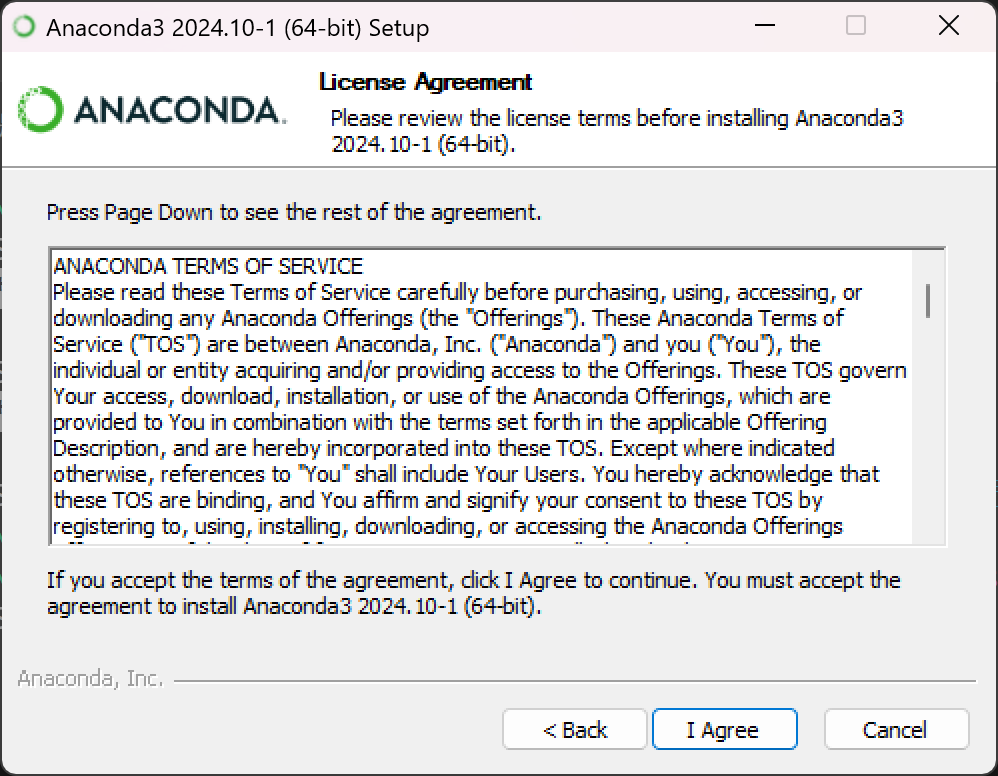
- 同意
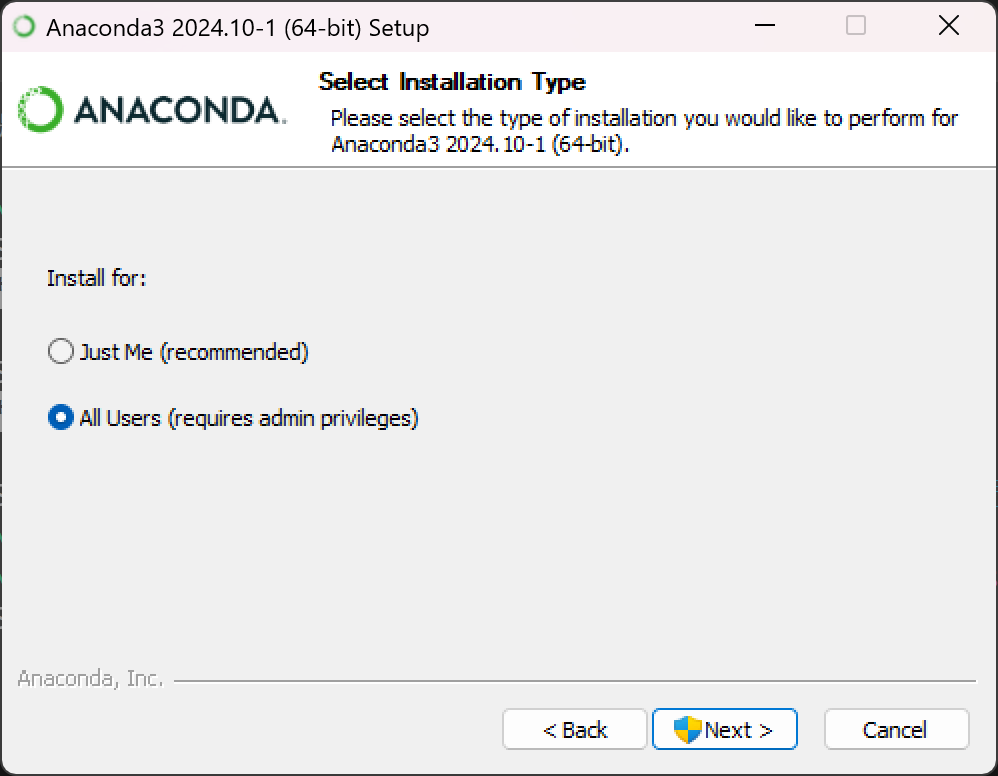
- 选择All Users,next
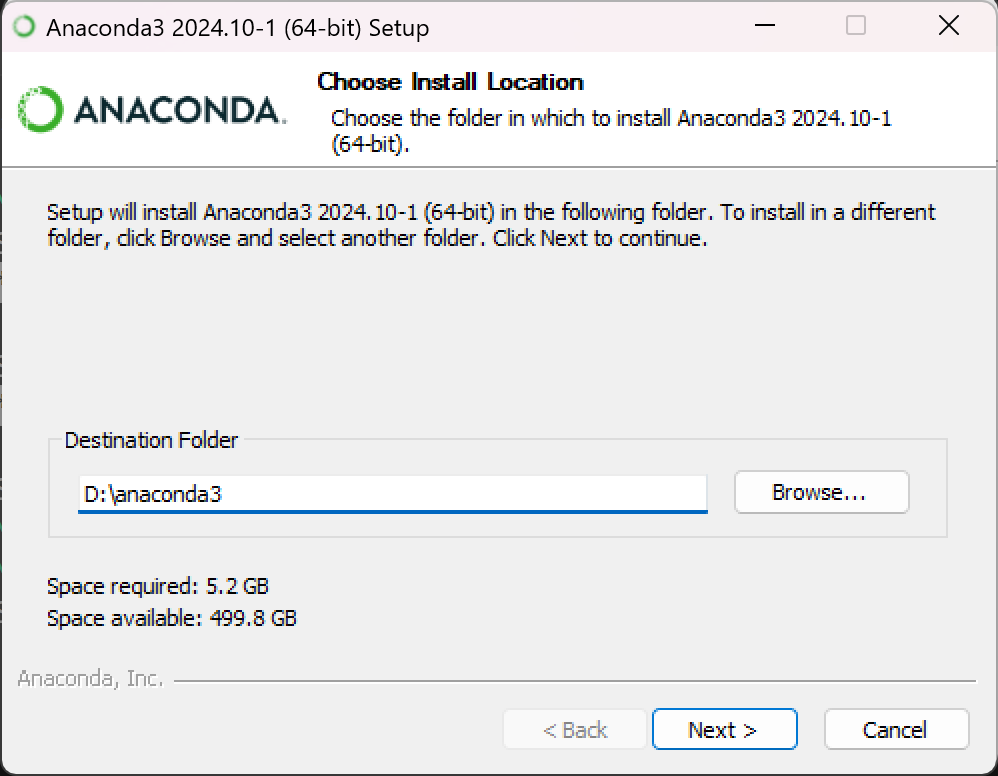
- 选择安装路径 D:\anaconda3
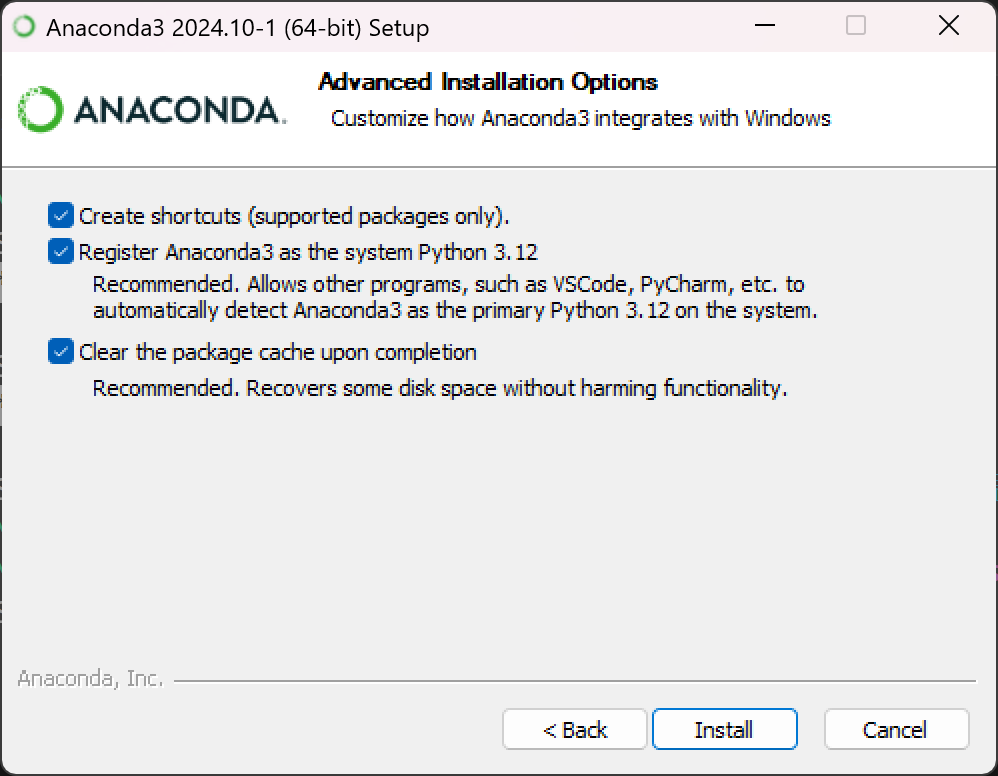
- 全部打勾,install
- 🔒创建开始菜单
- 🔒base环境以python3.12创建
- 🔒清除包缓存
- next

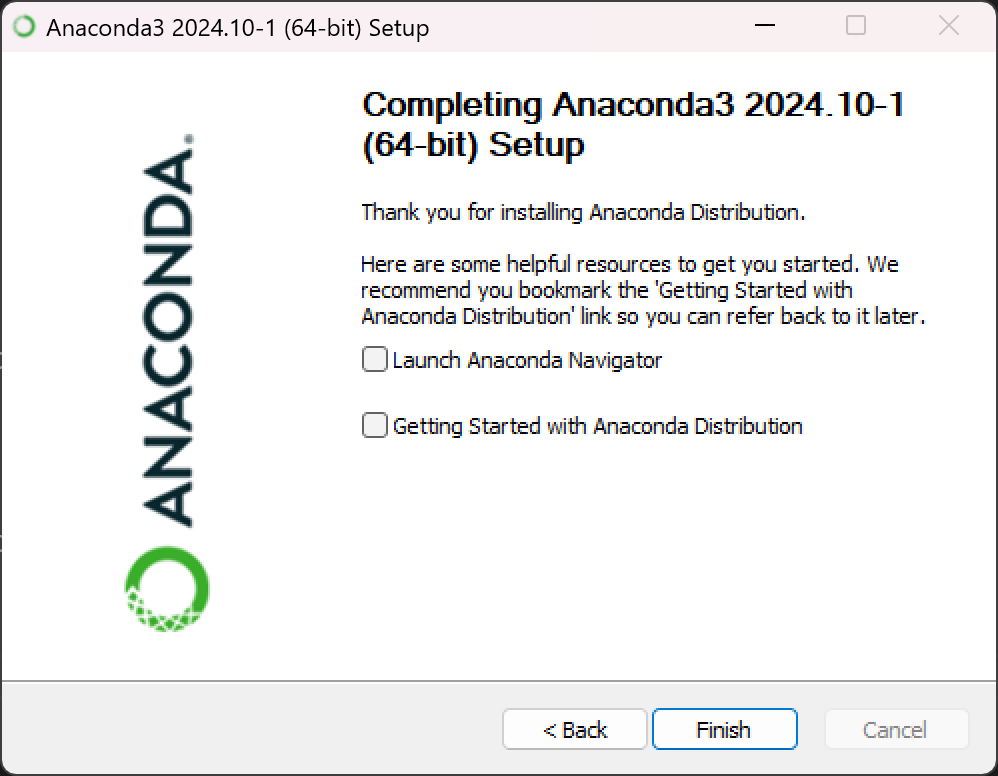
- 取消打勾,finish
3.环境变量配置
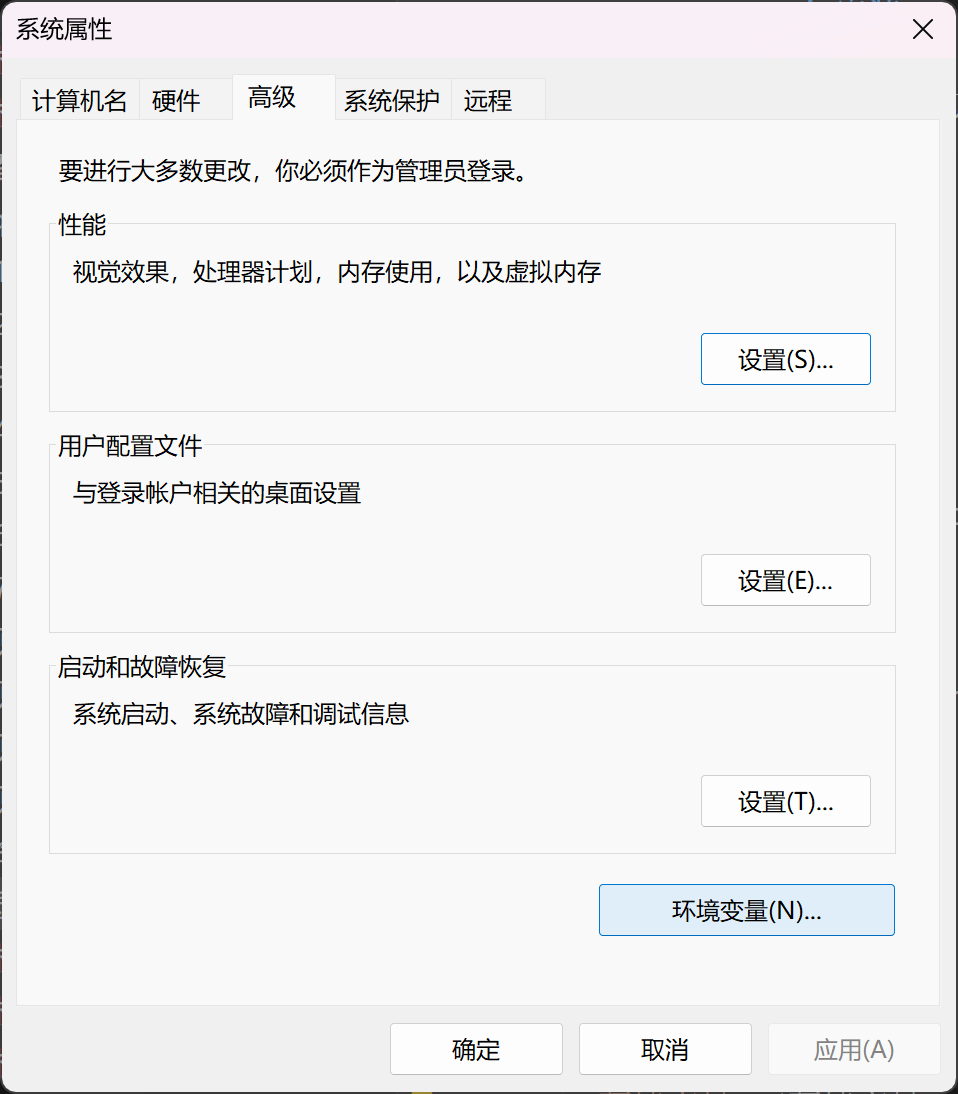
- 搜索栏搜索环境变量
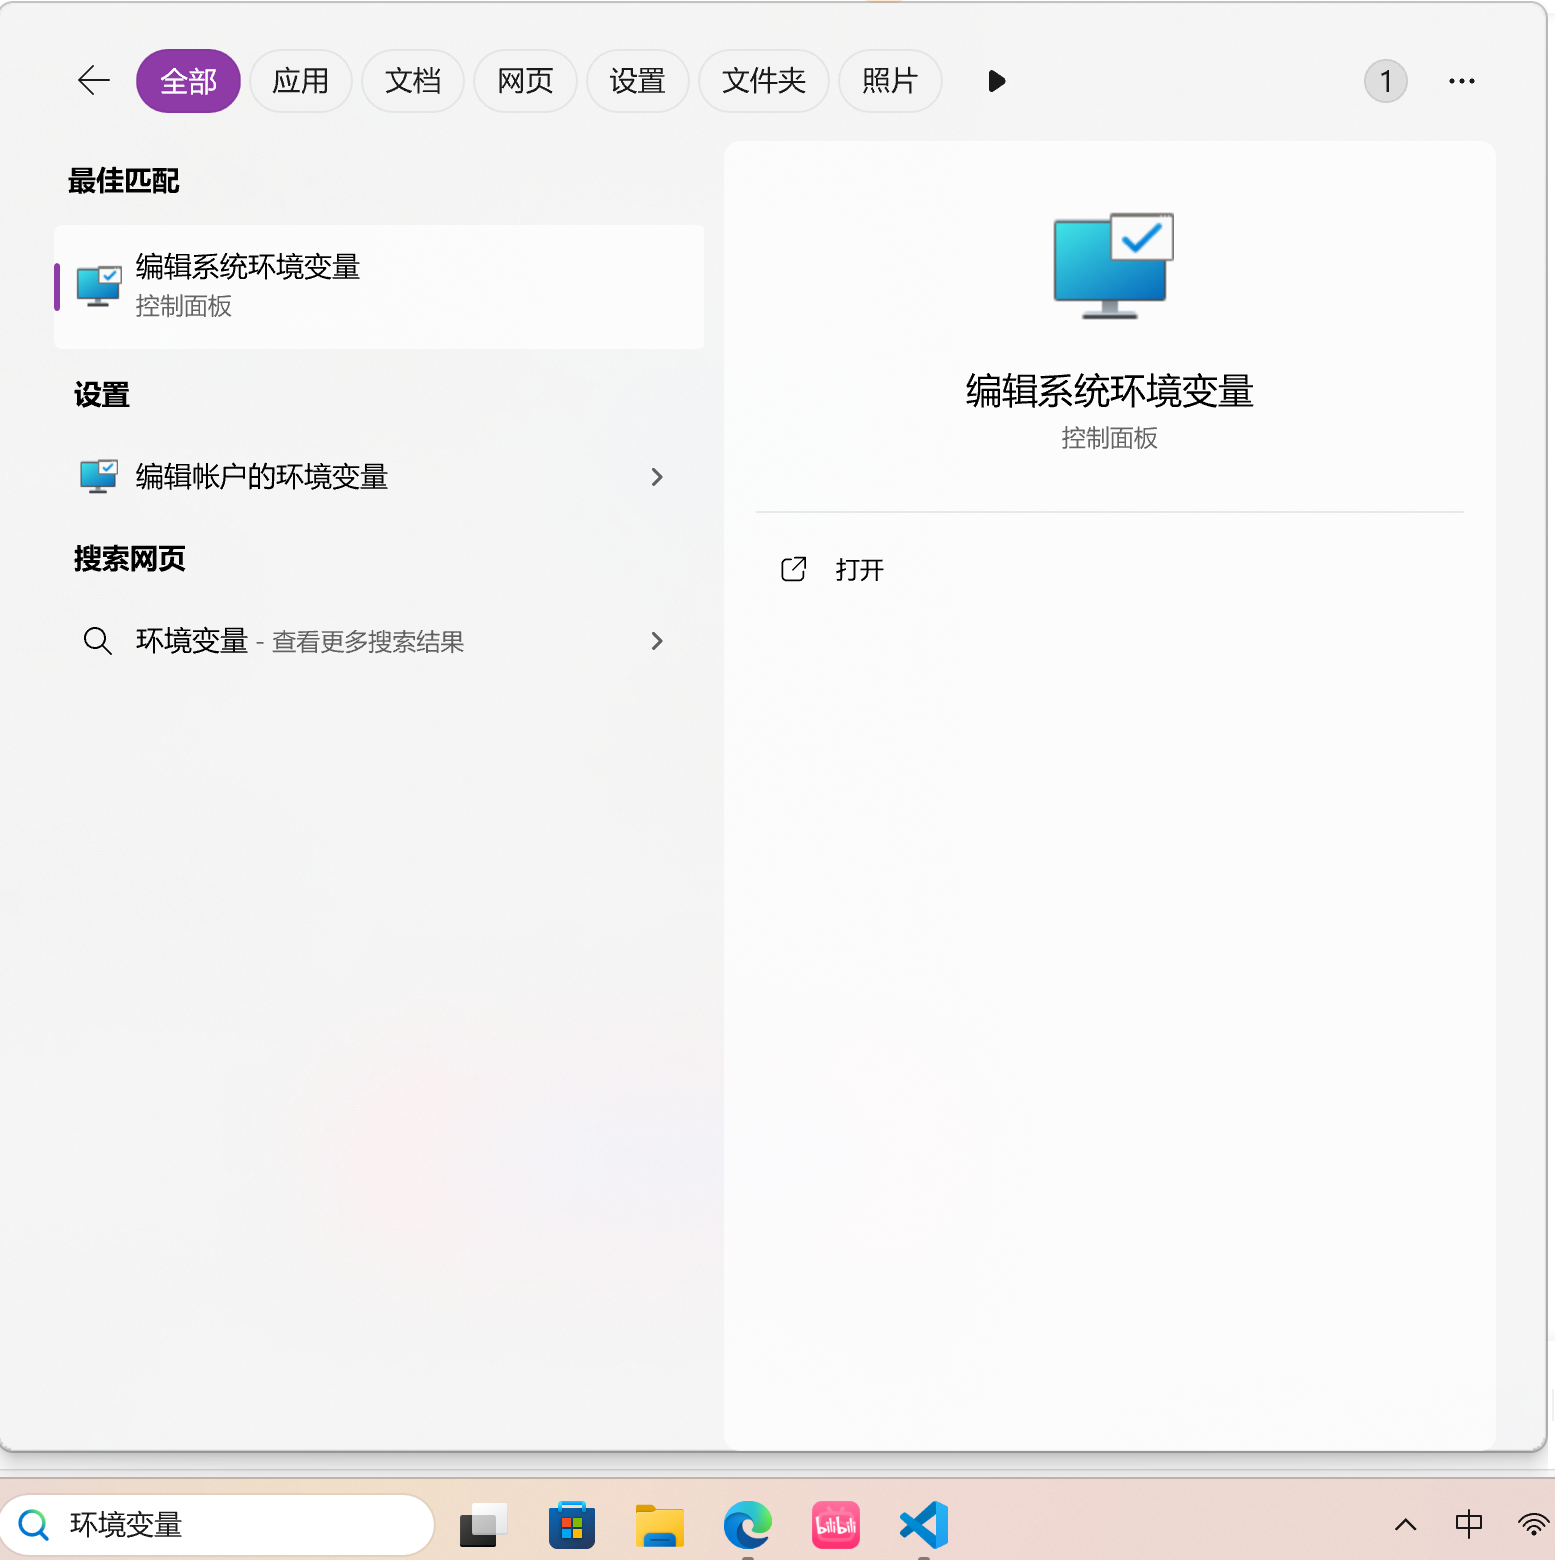
- 点击环境变量
- 系统变量中找到path,双击打开
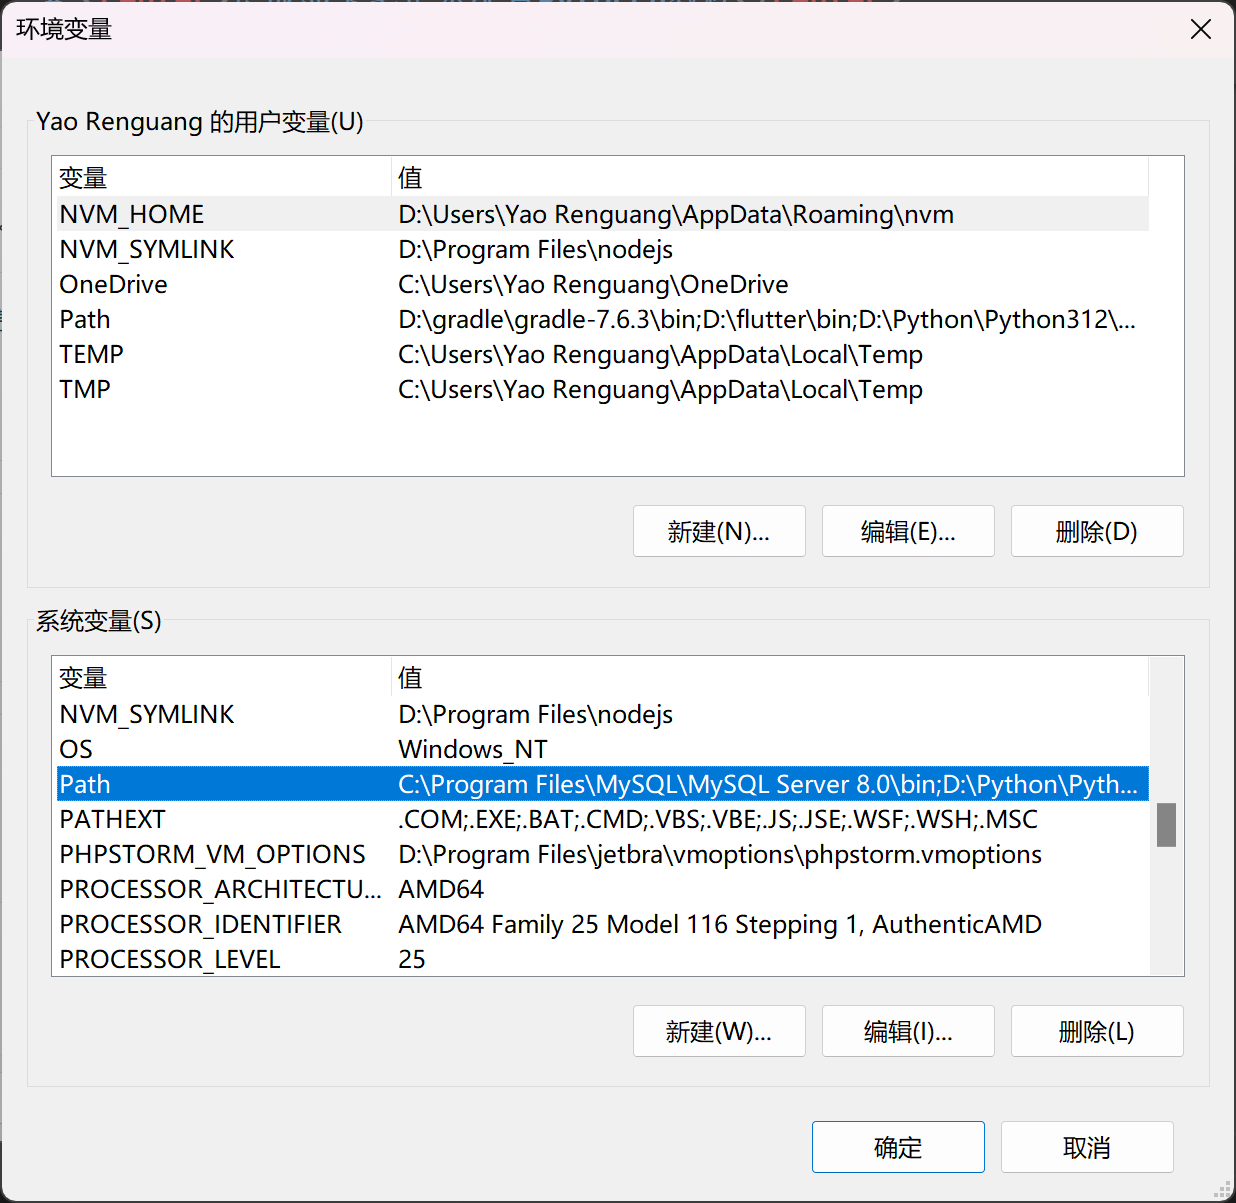
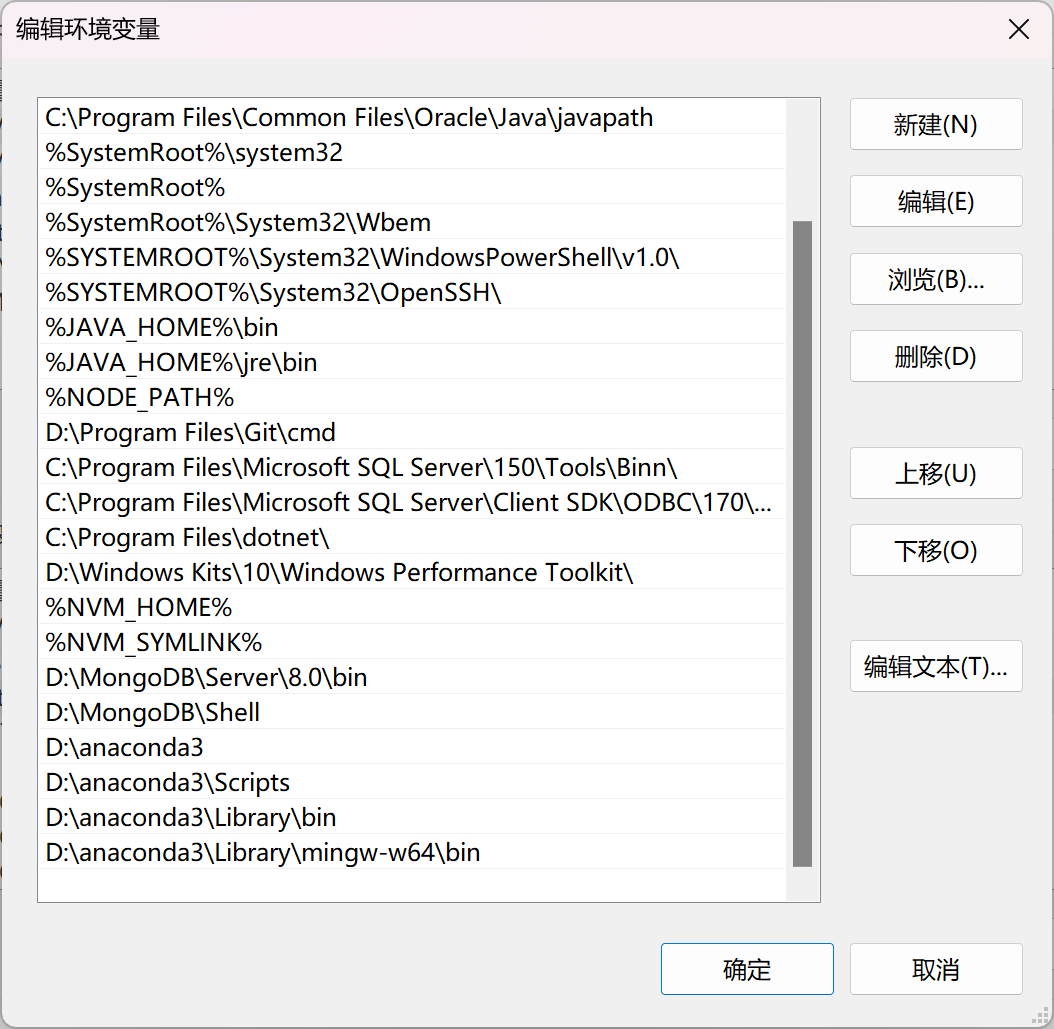
- 添加这4个路径,一路确定(3次)
- D:\anaconda3
- D:\anaconda3\Scripts
- D:\anaconda3\Library\bin
- D:\anaconda3\Library\mingw-w64\bin
4.测试
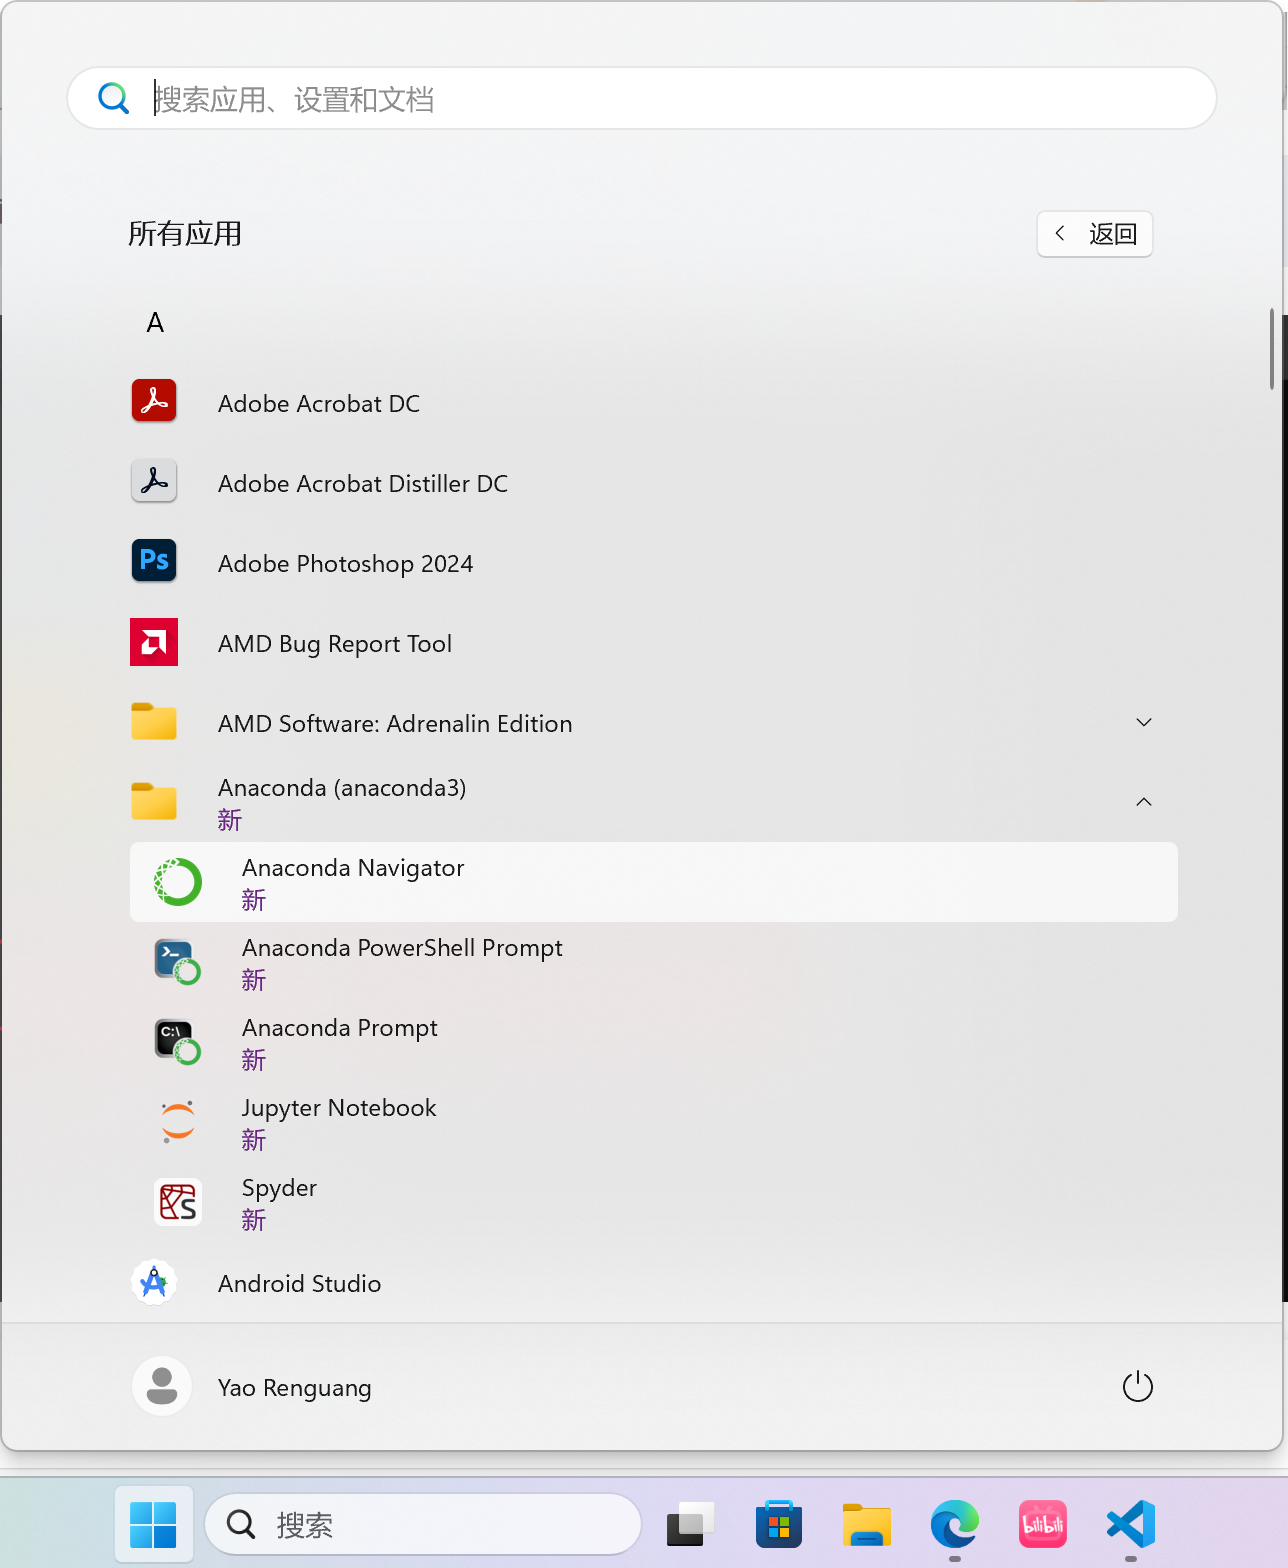
- 在开始菜单中搜索anaconda prompt
- 输入conda –version,输出对应版本号
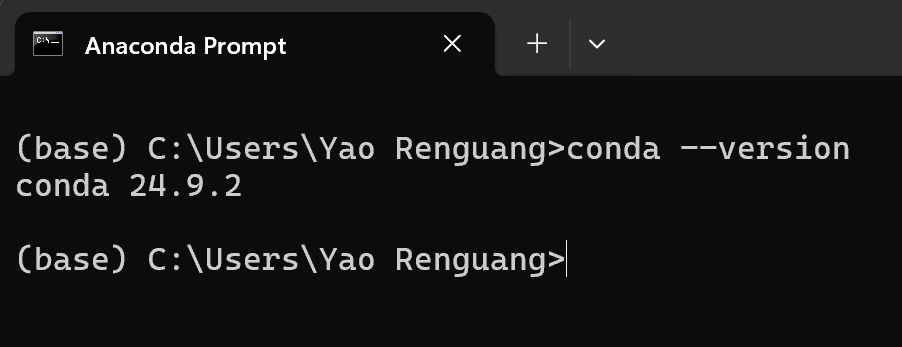
5.更改anaconda下载的路径和源
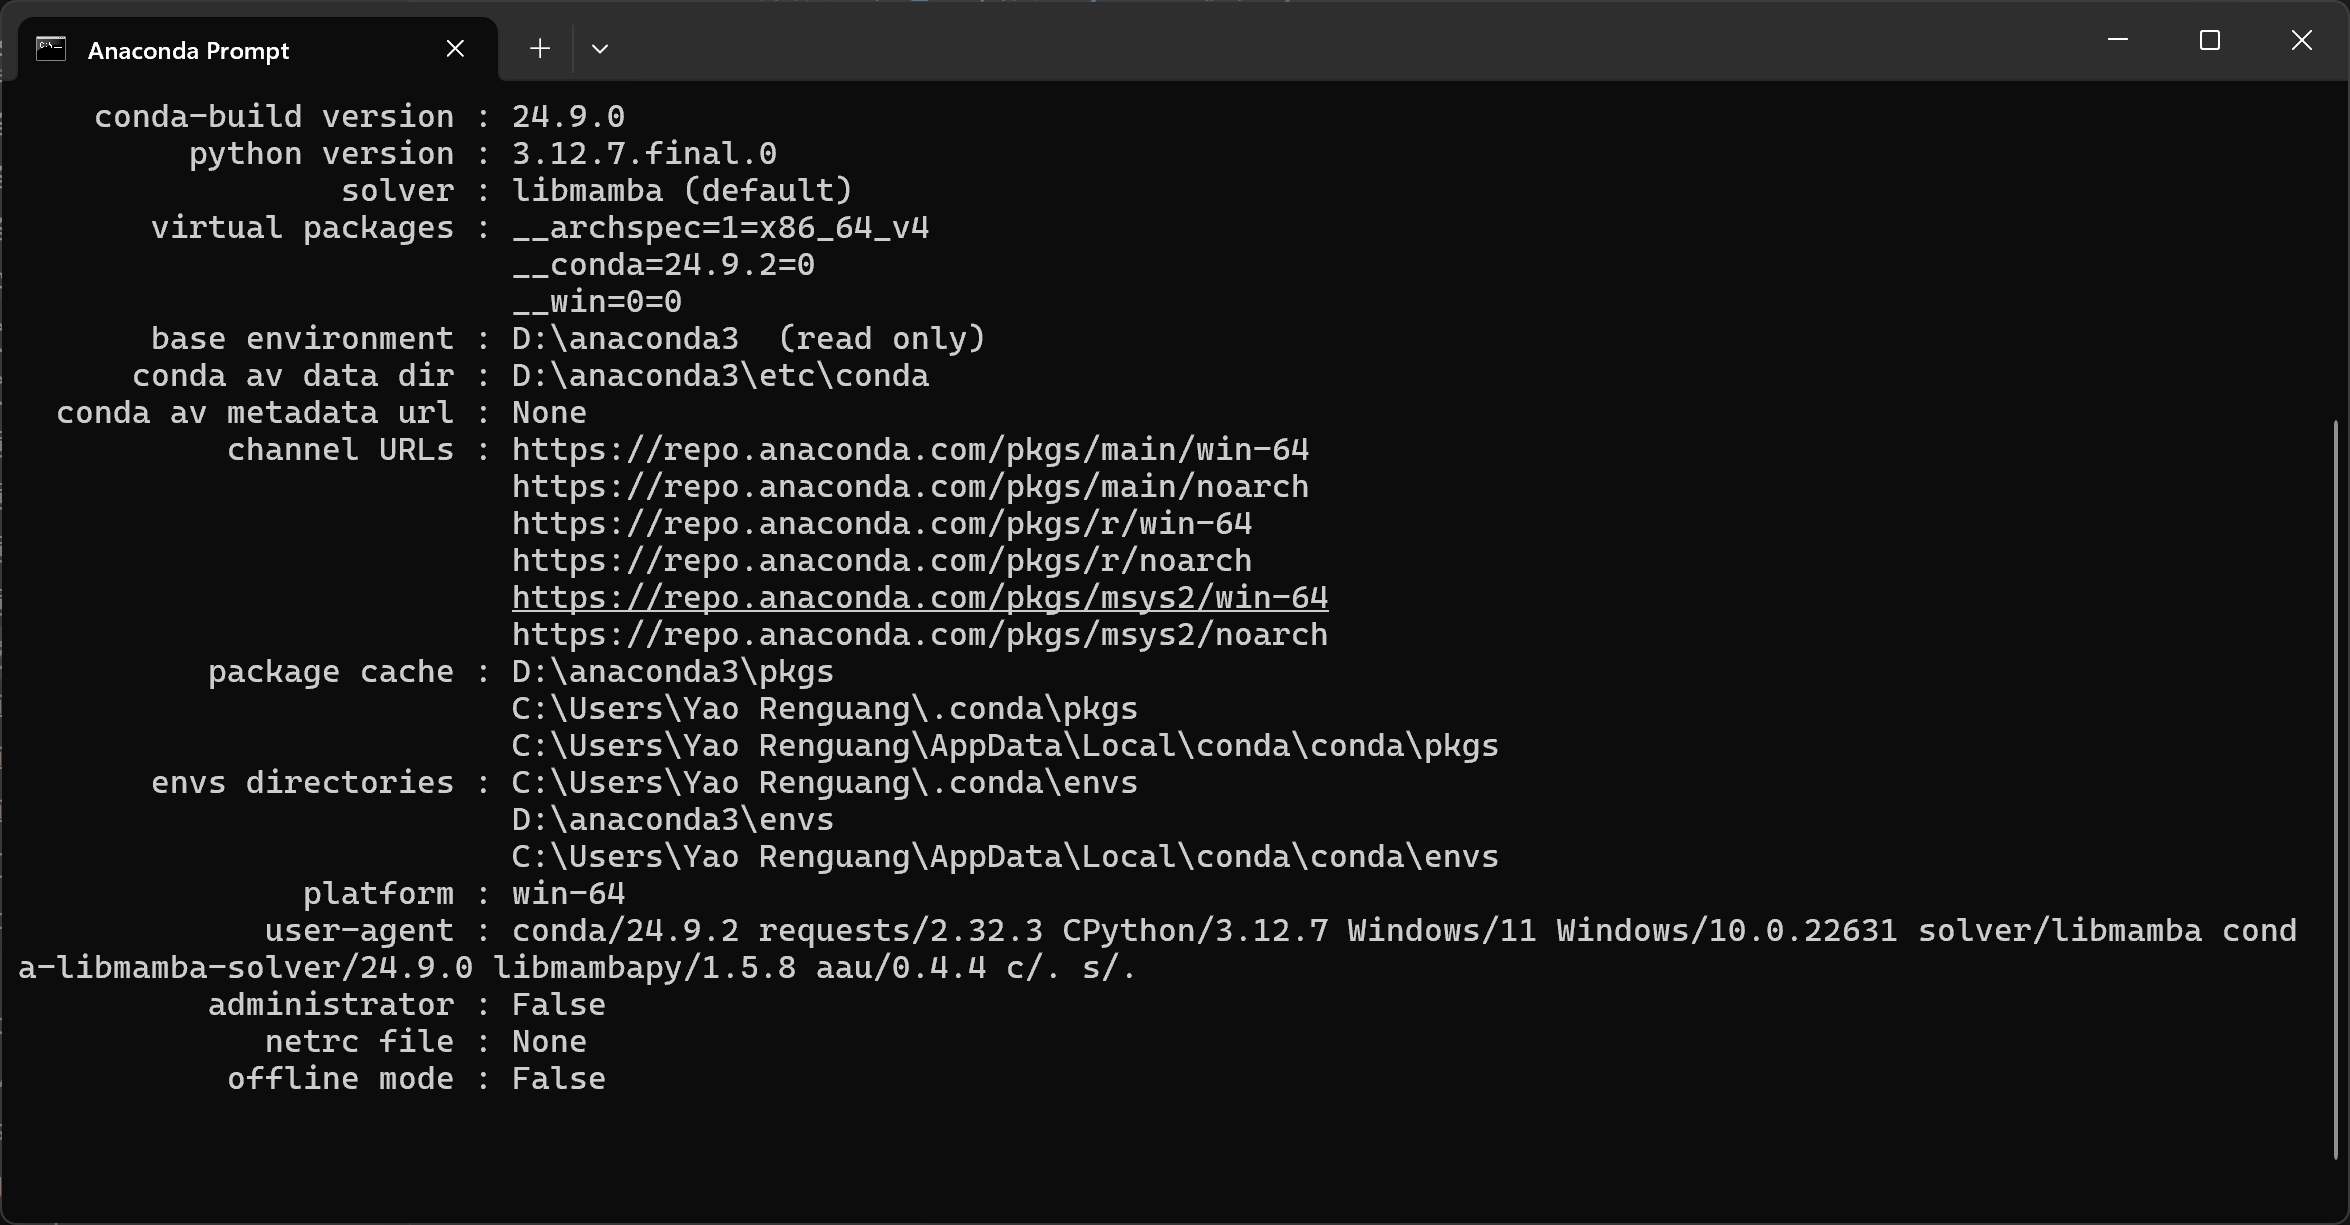
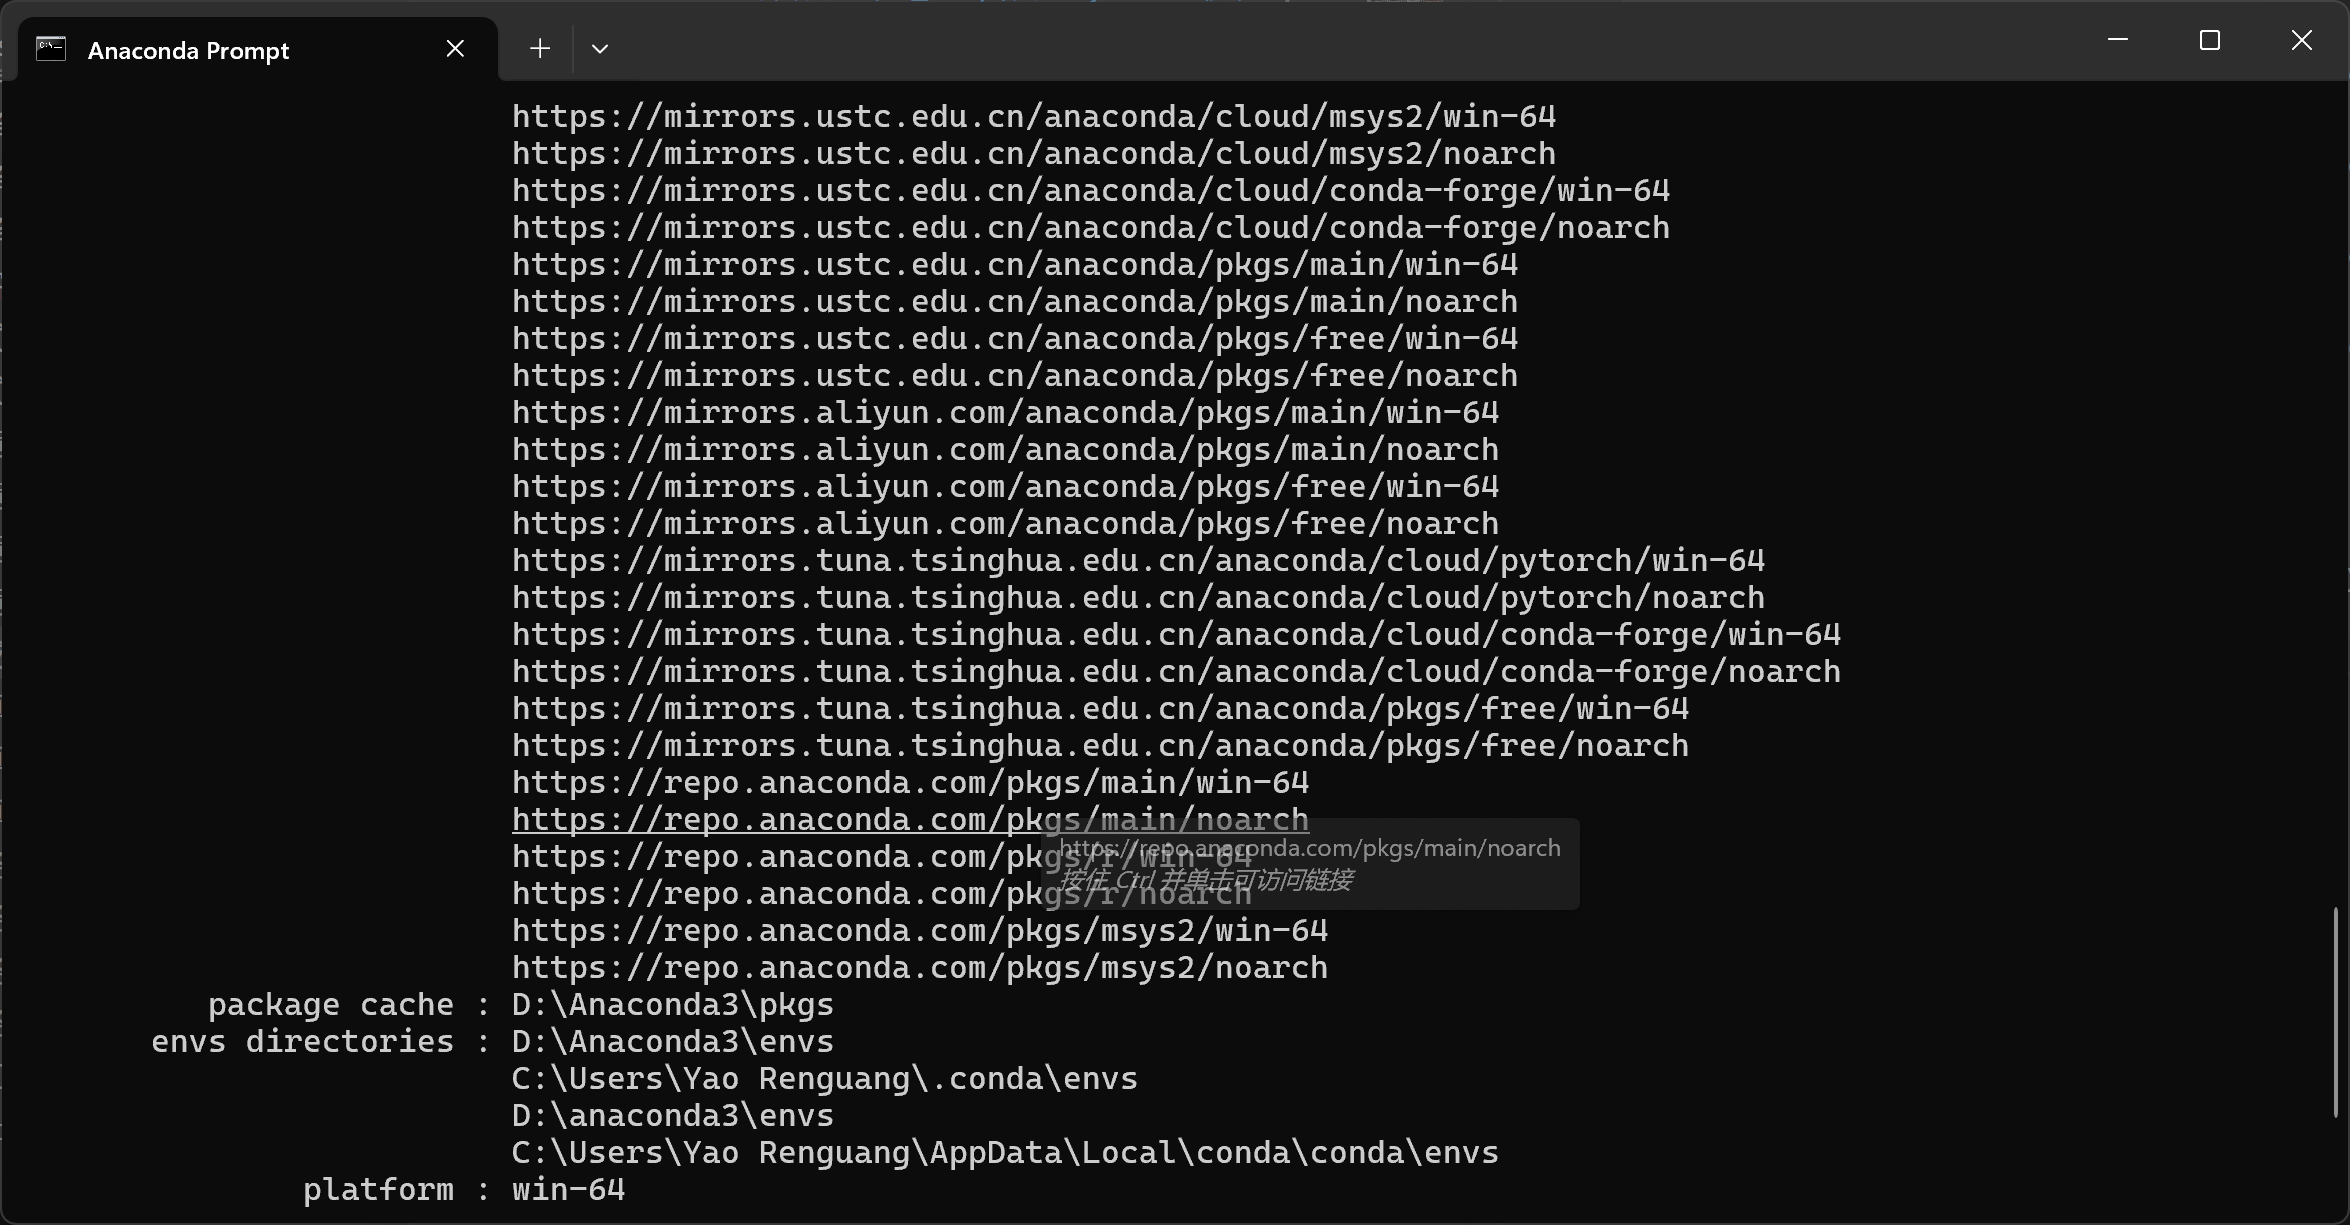
用上边的命令行窗口输入conda info,可见很多路径都是C盘
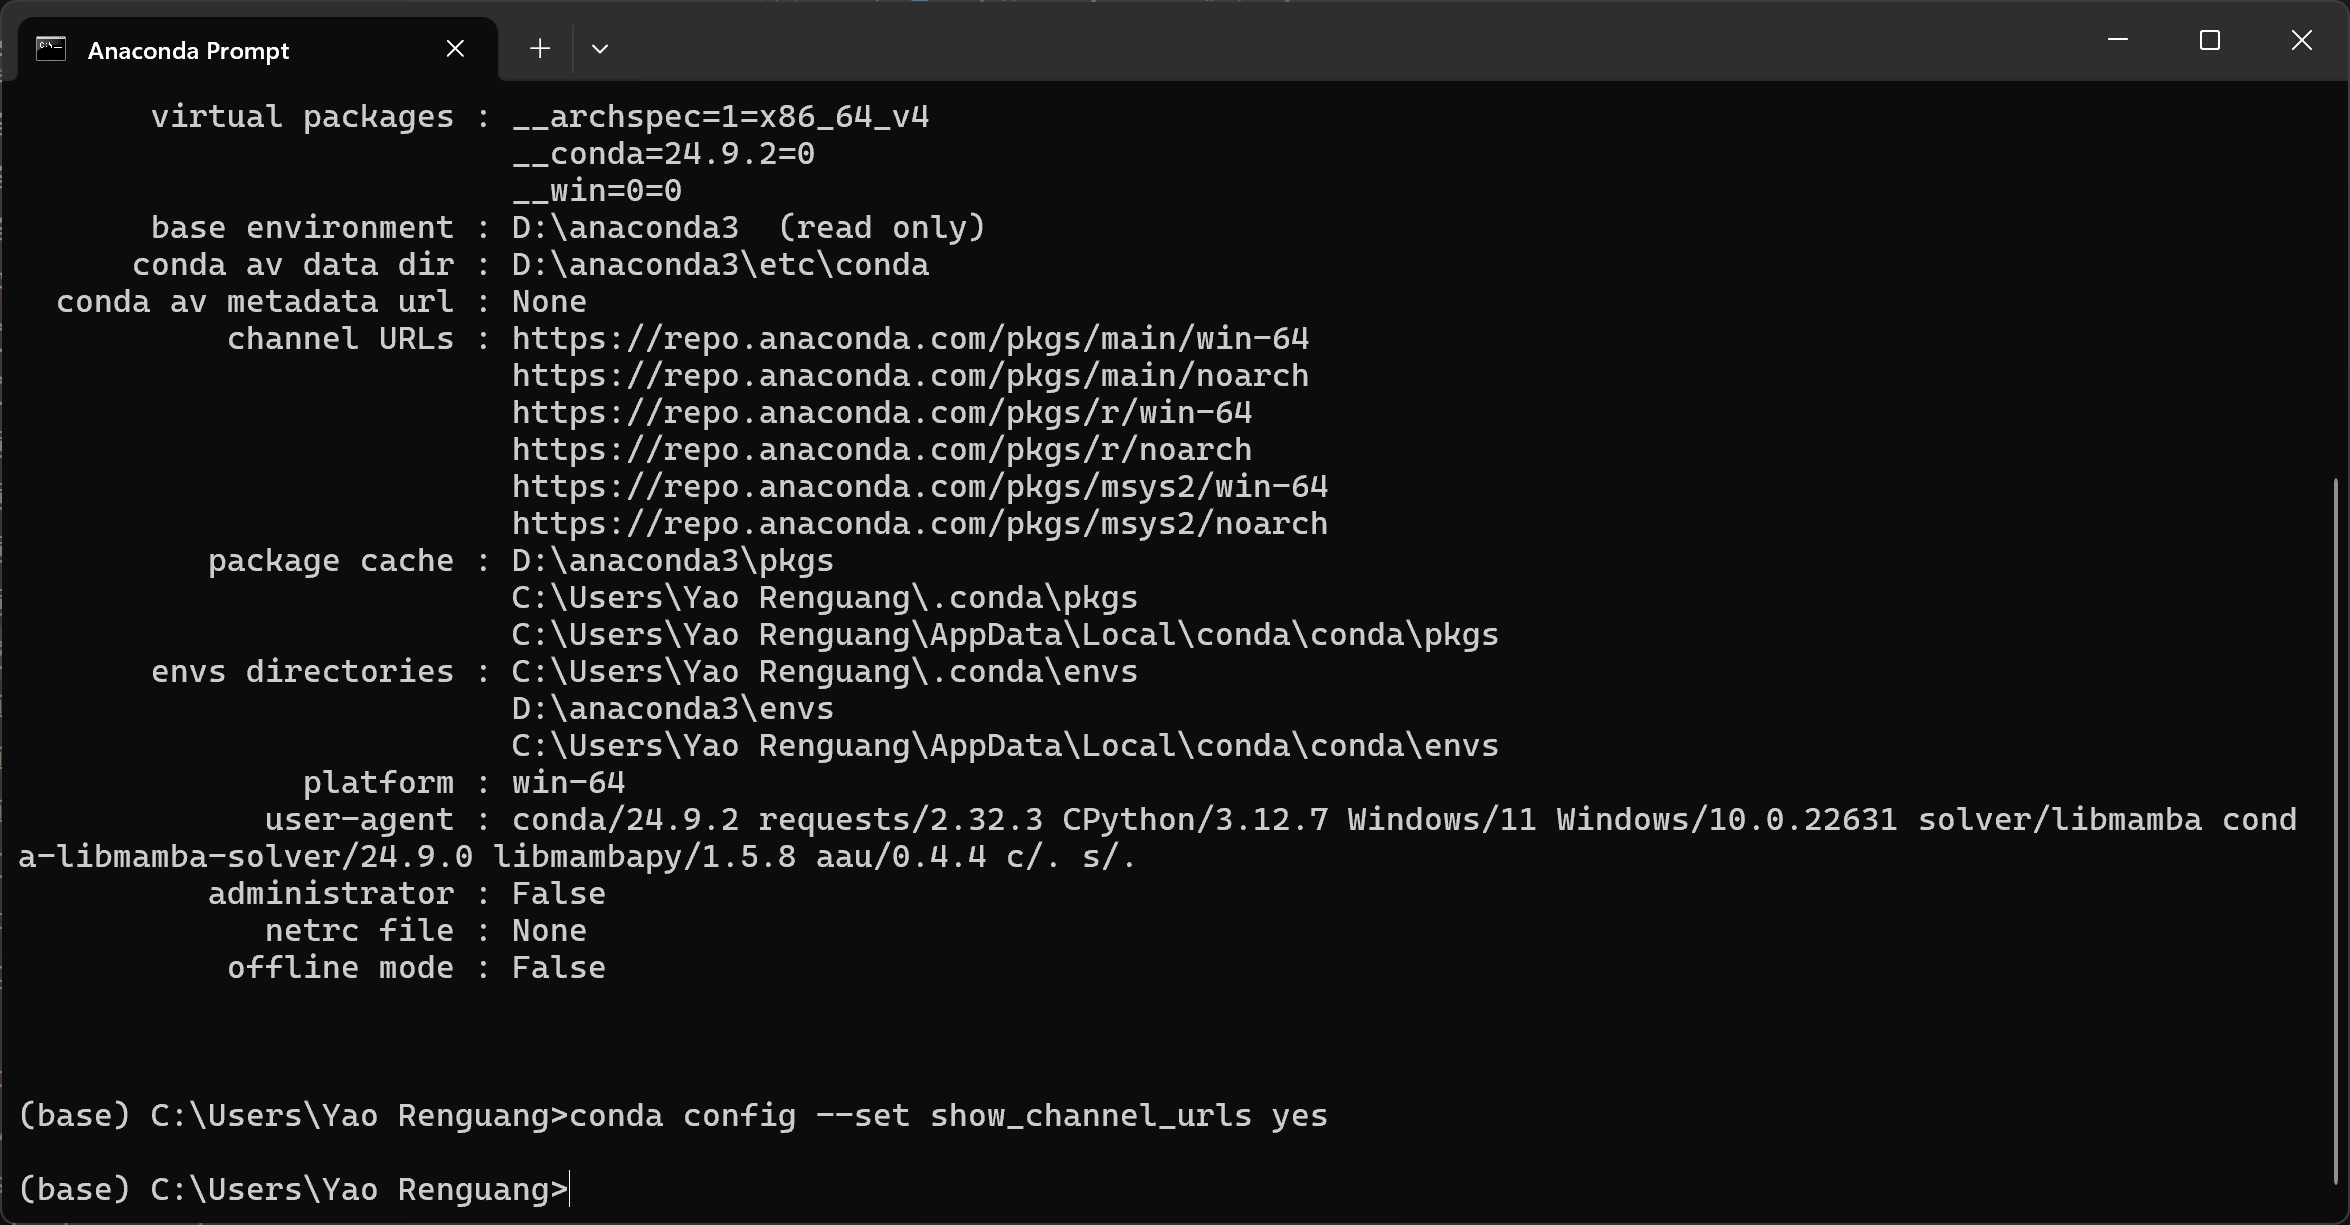
输入命令:conda config –set show_channel_urls yes
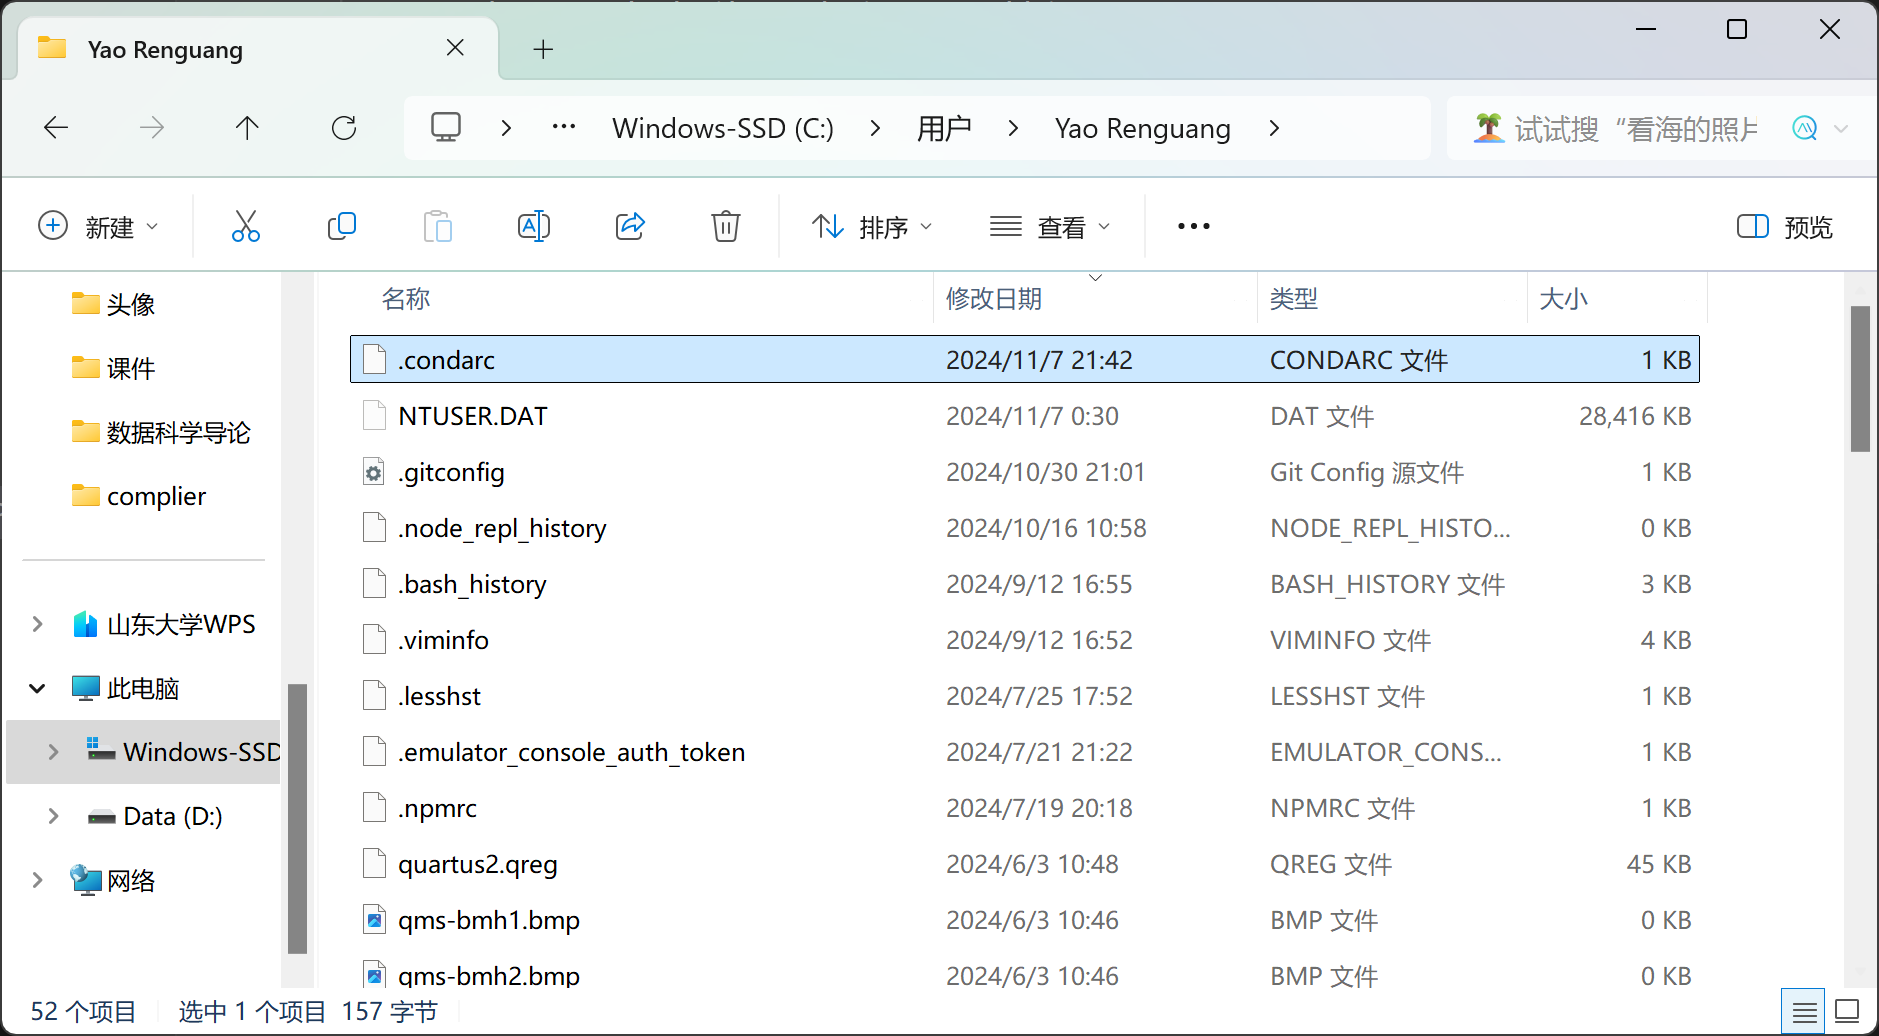
进入资源管理器,C:/用户/用户名,找到.condarc文件,用记事本打开
输入以下配置,CTRL+S保存
1
2
3
4envs_dirs:
- D:\Anaconda3\envs
pkgs_dirs:
- D:\Anaconda3\pkgs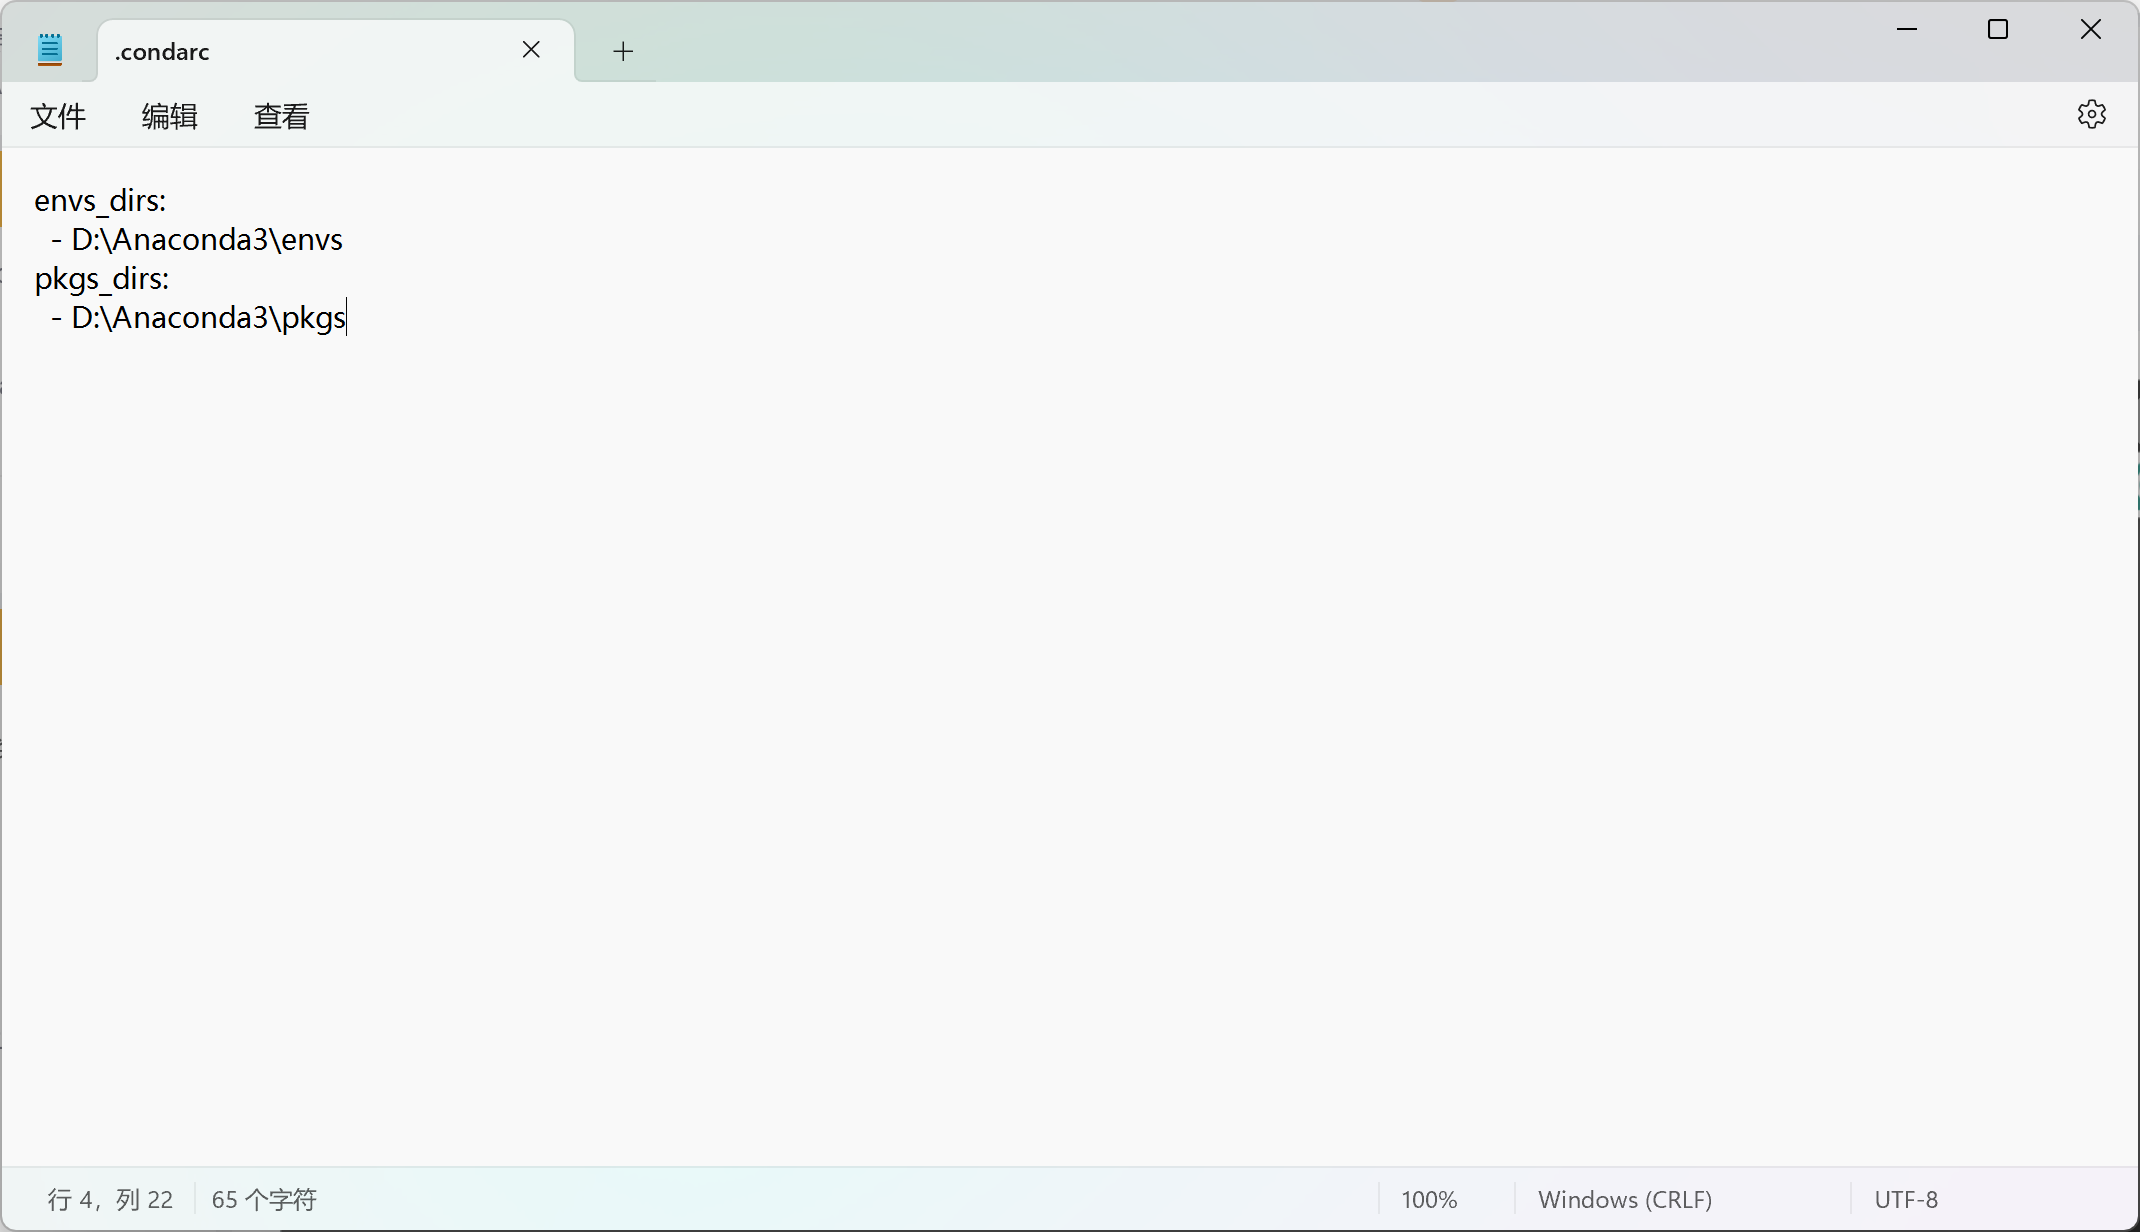
创建这两个文件夹
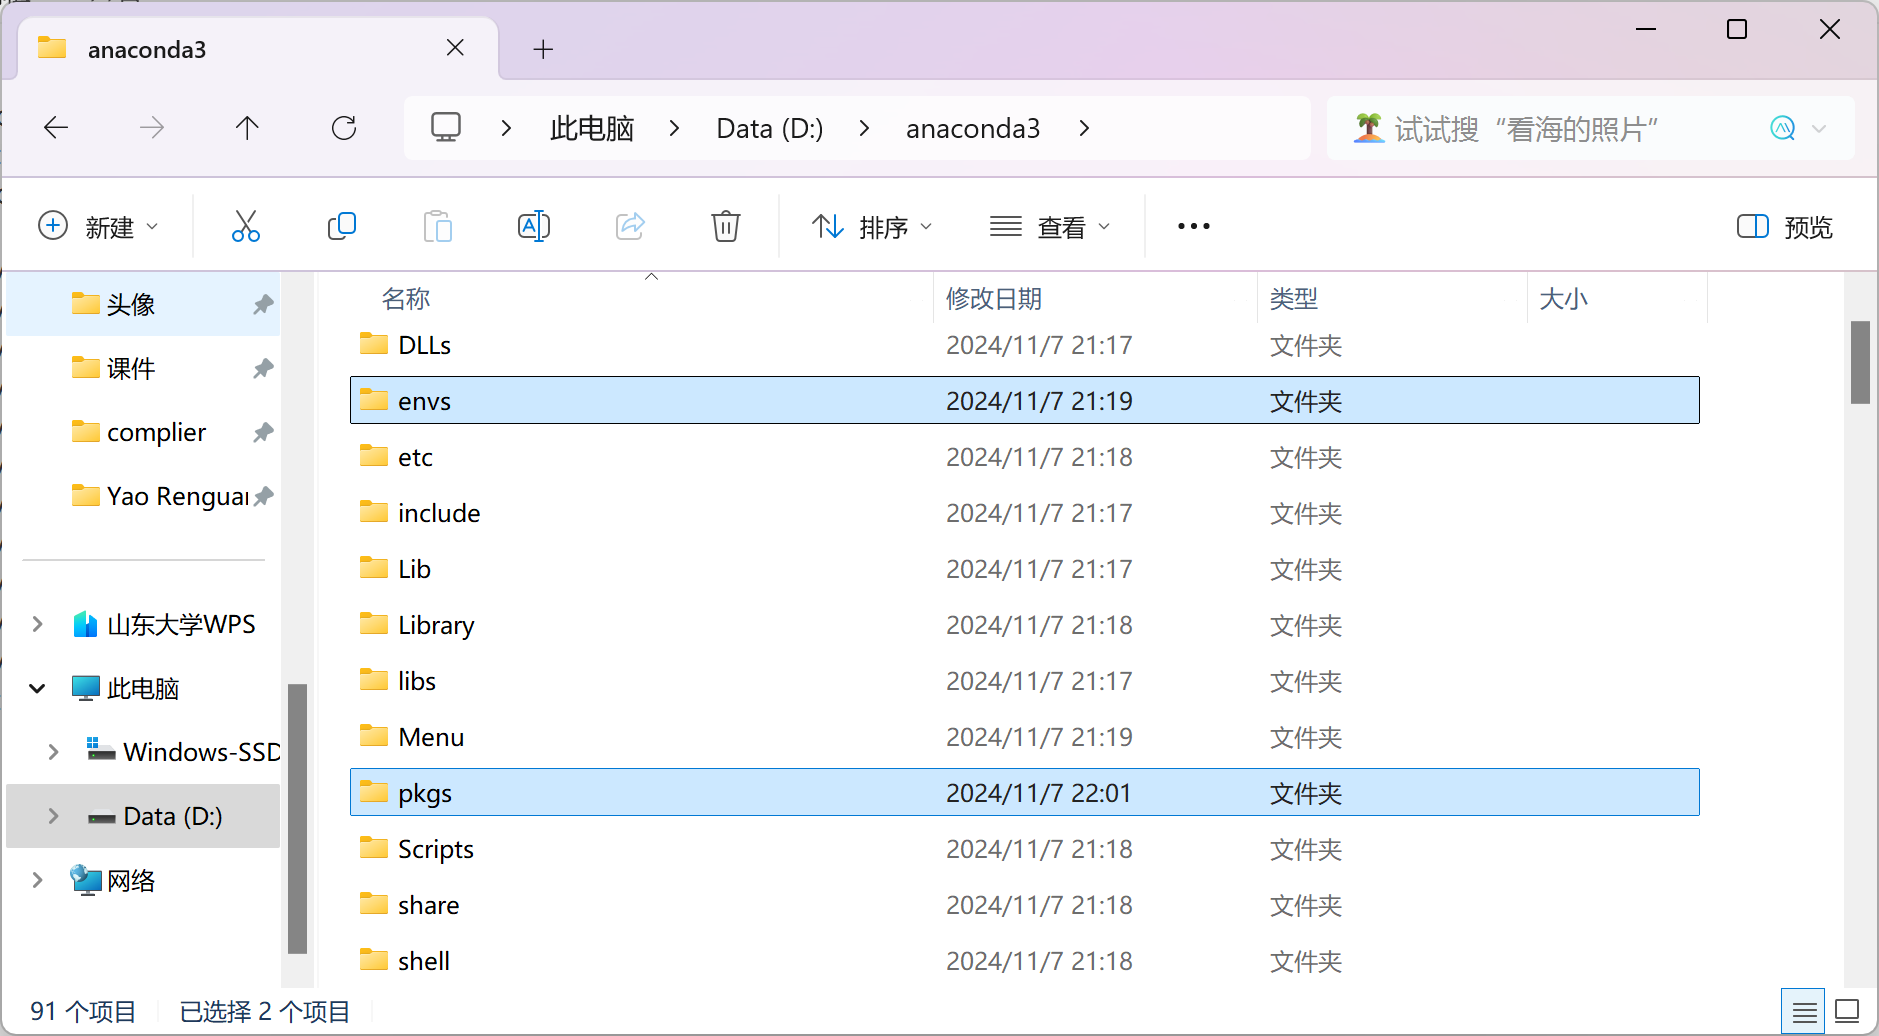
在命令行中输入以下命令,配置镜像源(一条一条打)
1
2
3
4
5
6
7
8
9
10
11
12
13
14
15
16
17
18
19
# 添加清华源
conda config --add channels https://mirrors.tuna.tsinghua.edu.cn/anaconda/pkgs/free/
conda config --add channels https://mirrors.tuna.tsinghua.edu.cn/anaconda/cloud/conda-forge/
conda config --add channels https://mirrors.tuna.tsinghua.edu.cn/anaconda/cloud/pytorch/


# 添加中科大源
conda config --add channels https://mirrors.ustc.edu.cn/anaconda/pkgs/free/
conda config --add channels https://mirrors.ustc.edu.cn/anaconda/pkgs/main/
conda config --add channels https://mirrors.ustc.edu.cn/anaconda/cloud/conda-forge/
conda config --add channels https://mirrors.ustc.edu.cn/anaconda/cloud/msys2/
conda config --add channels https://mirrors.ustc.edu.cn/anaconda/cloud/bioconda/
conda config --add channels https://mirrors.ustc.edu.cn/anaconda/cloud/menpo/


# (可选)设置搜索时显示通道地址
conda config --set show_channel_urls yes
验证配置是否生效,执行conda info,可见镜像源和保存路径均已更改
二、Pytorch安装
1.创建虚拟环境
- 不同的项目可能会需要不同的python版本等,因此为每个项目设置独立的环境是个好的选择
- 打开上述终端,输入conda create -n pytorch_cpu python=3.6
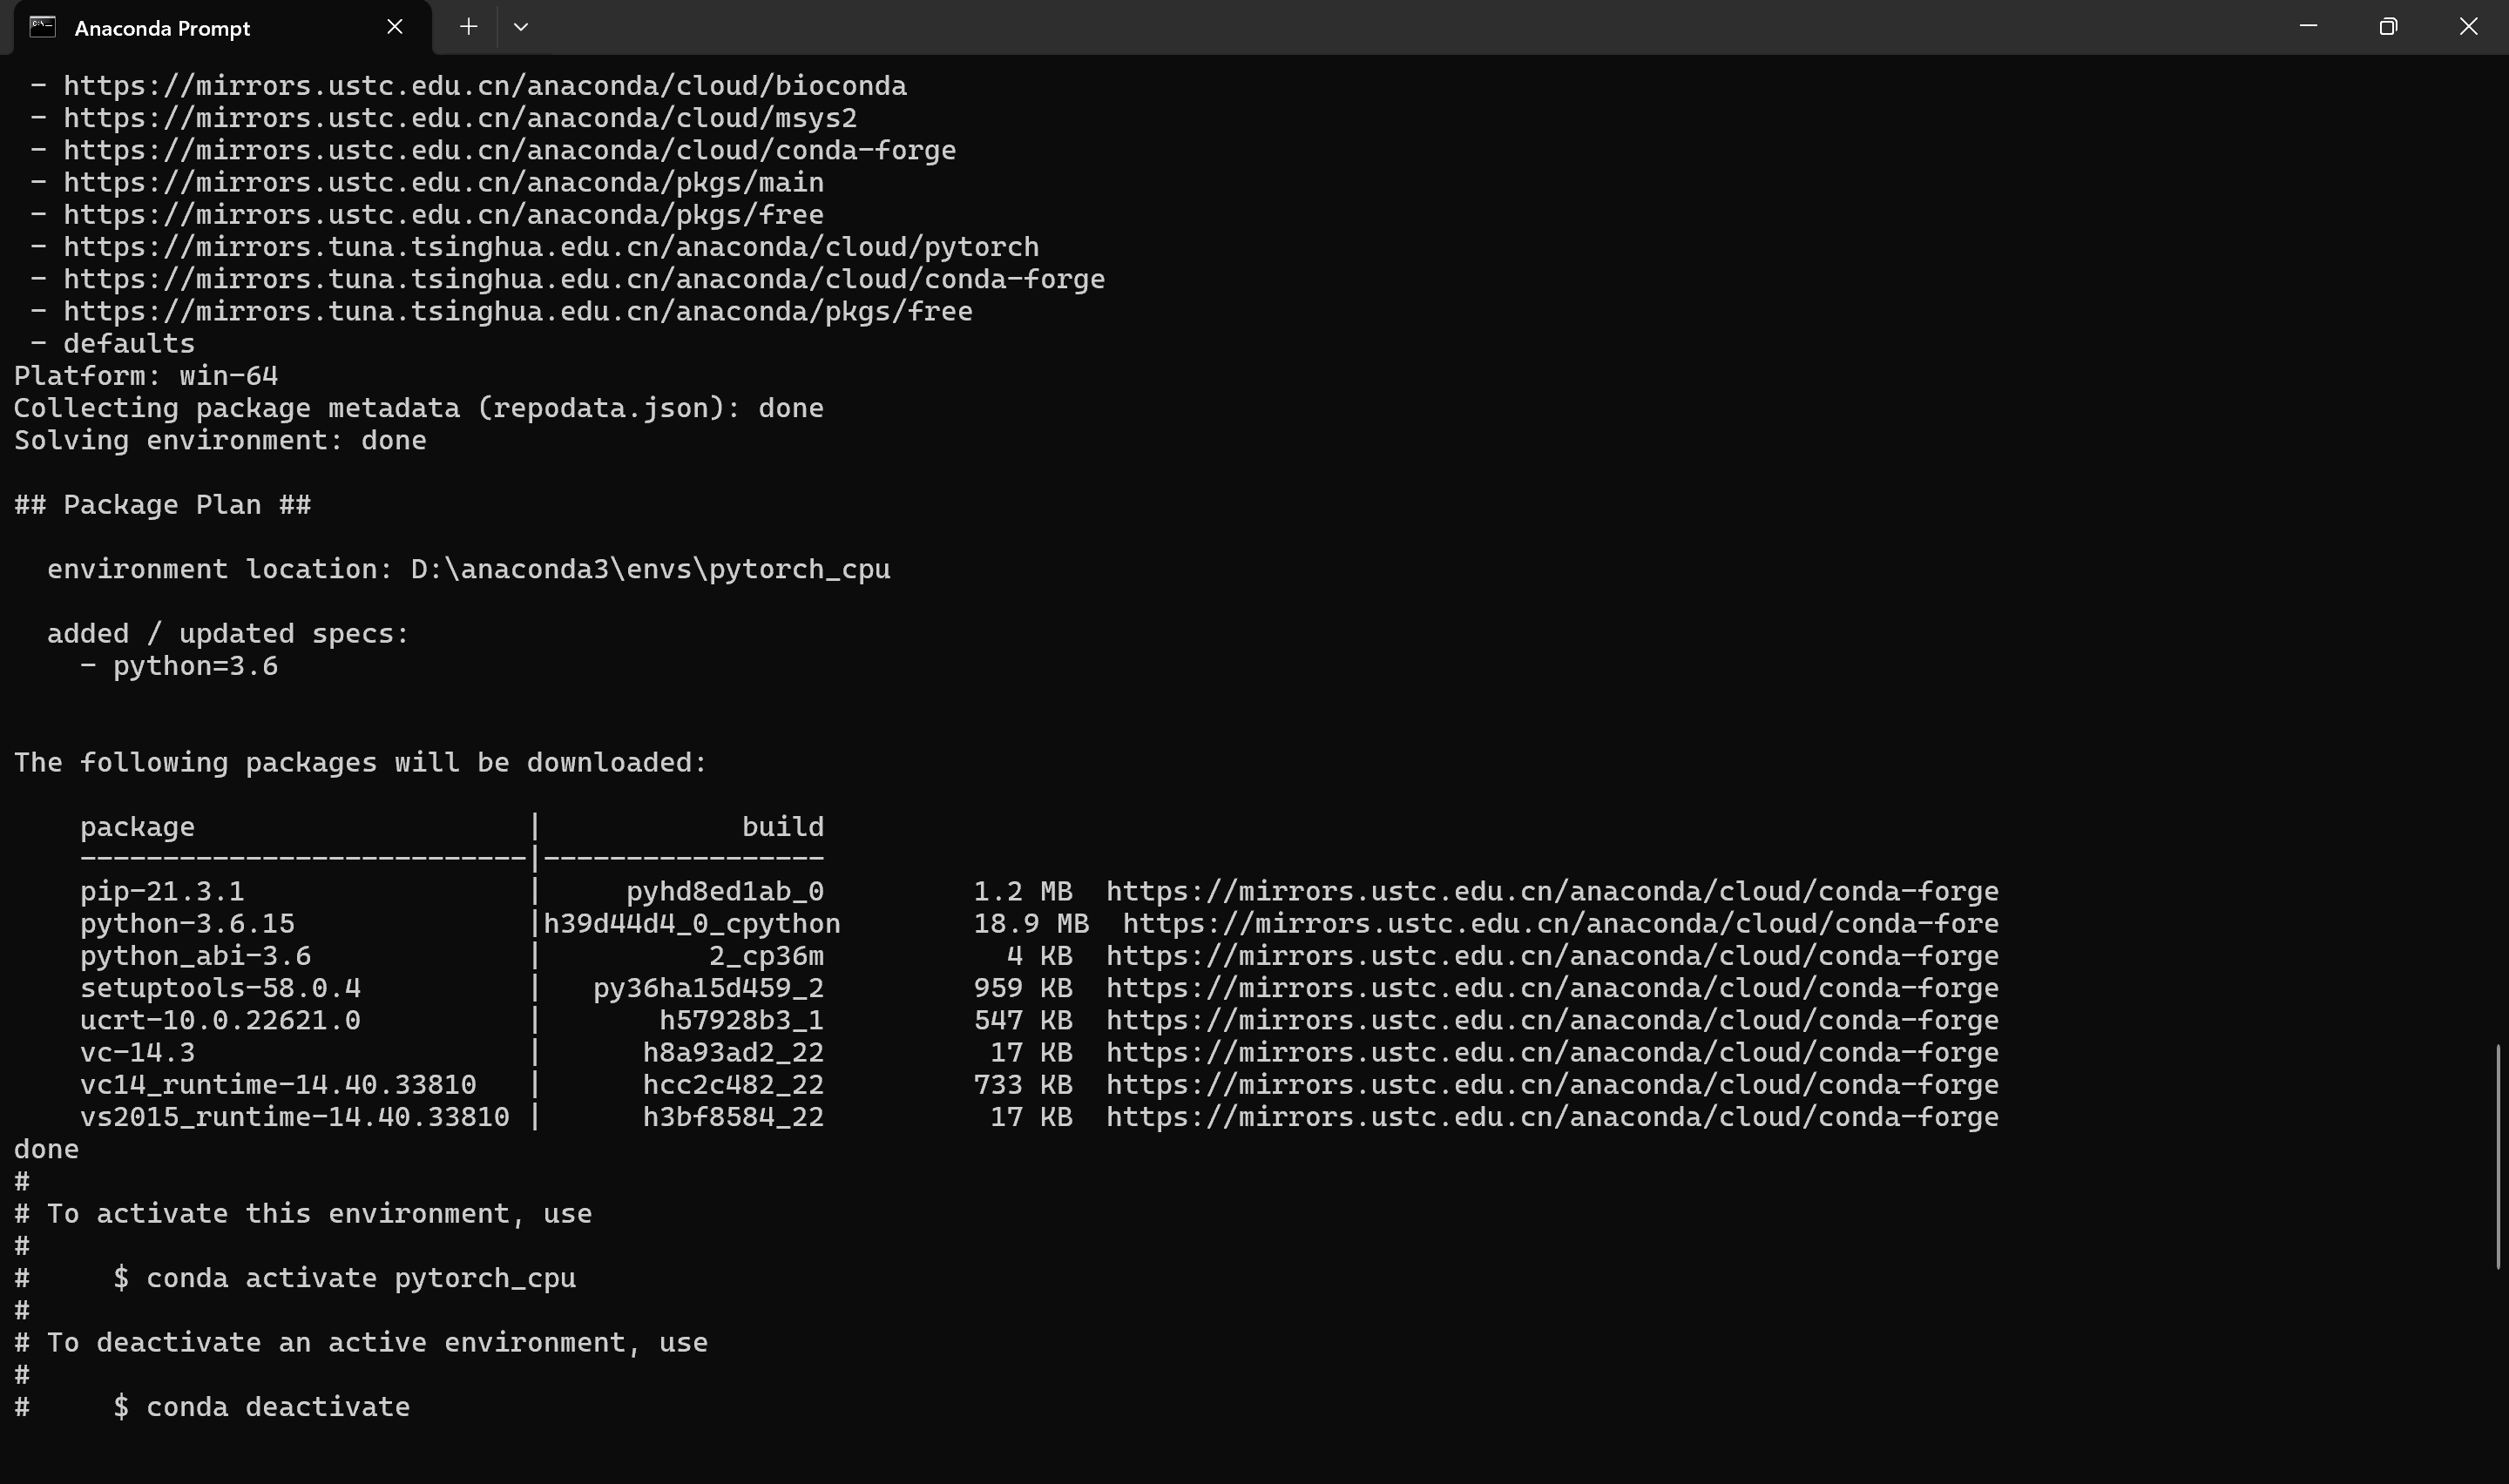
- 切换环境

- 删除环境(慎重),如果进入该环境,一定要先退出环境conda deactivate才能删除(在环境里面无法删除本环境),然后执行conda remove -n env_name –all
2.安装pytorch
- 进入pytorch官网:点此进入,选择如下,复制那串命令
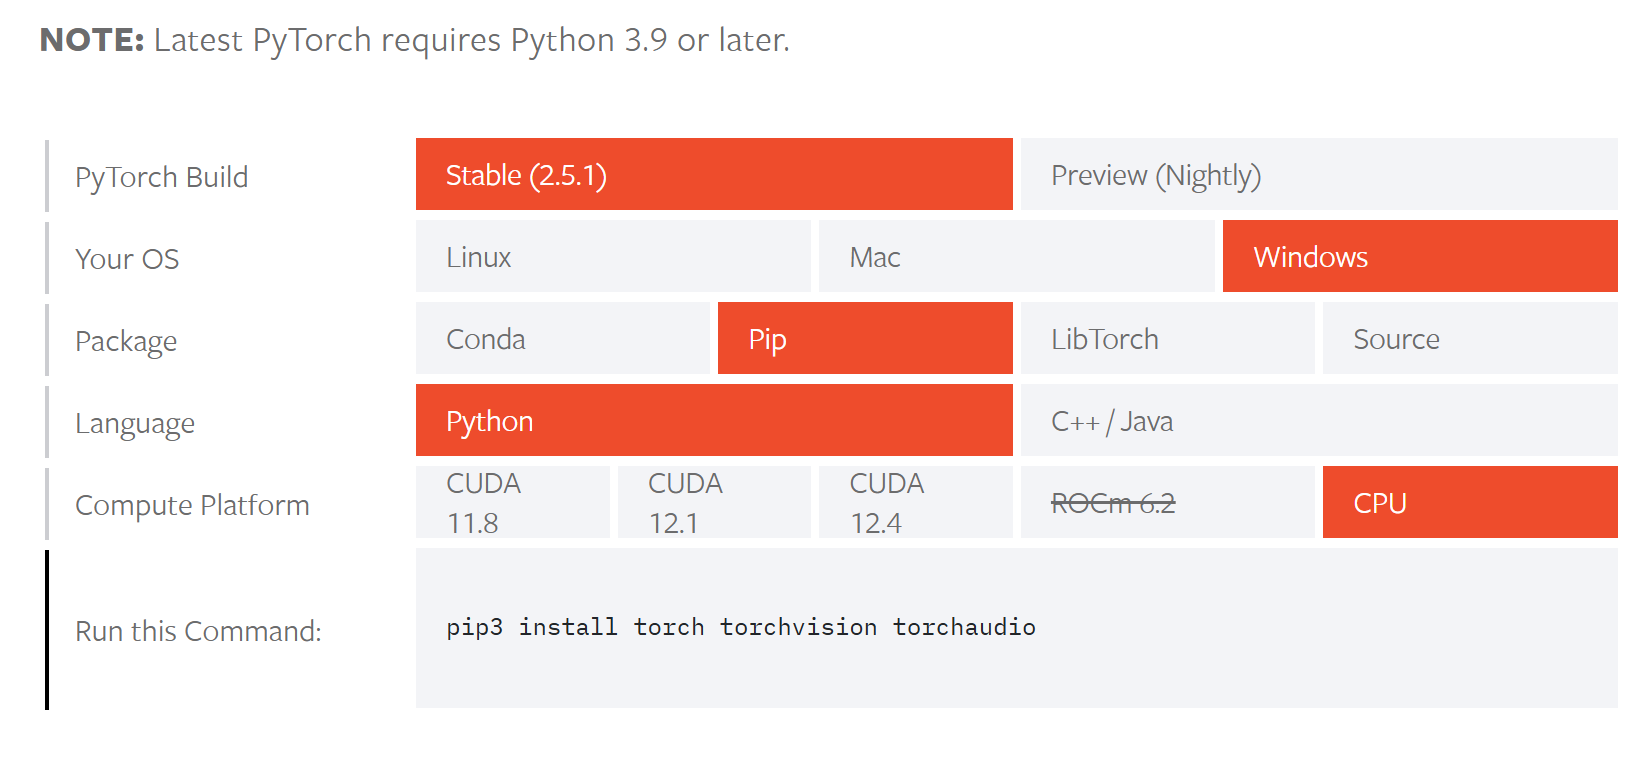
- 到上边的终端下,粘贴并执行

3.测试
- 进入上述终端,并切换环境,输入python

- 输入如下命令:
1
2
3>>> import torch
>>> import torchvision
>>> print(torch.__version__) - 预期输出:
1
1.10.2+cpu - 至此,环境已配好
集成显卡笔记本配置Pytorch教程
https://sdueryrg.github.io/2024/11/07/集成显卡笔记本配置Pytorch教程/